Paint Cracking Over Caulk Even After Waiting: What Needs to Change?
Paint cracking over caulk requires identifying which material failed. An intact flexible bead with a cracked paint skin differs from caulk that has split or pulled away. Review the exact products, bead size, conditions and joint movement. More elapsed time or another coat may not solve an unsuitable joint or incompatible system. Test a defined repair before repeating it around the entire room.
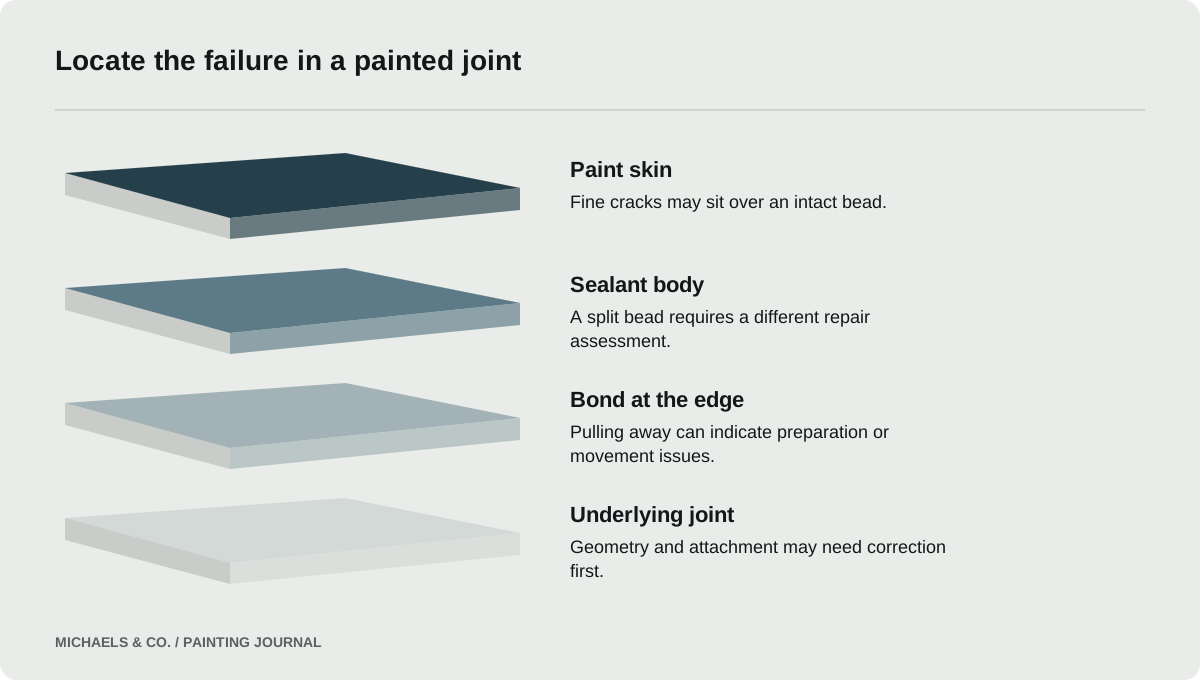
Find out whether the crack is in paint or sealant
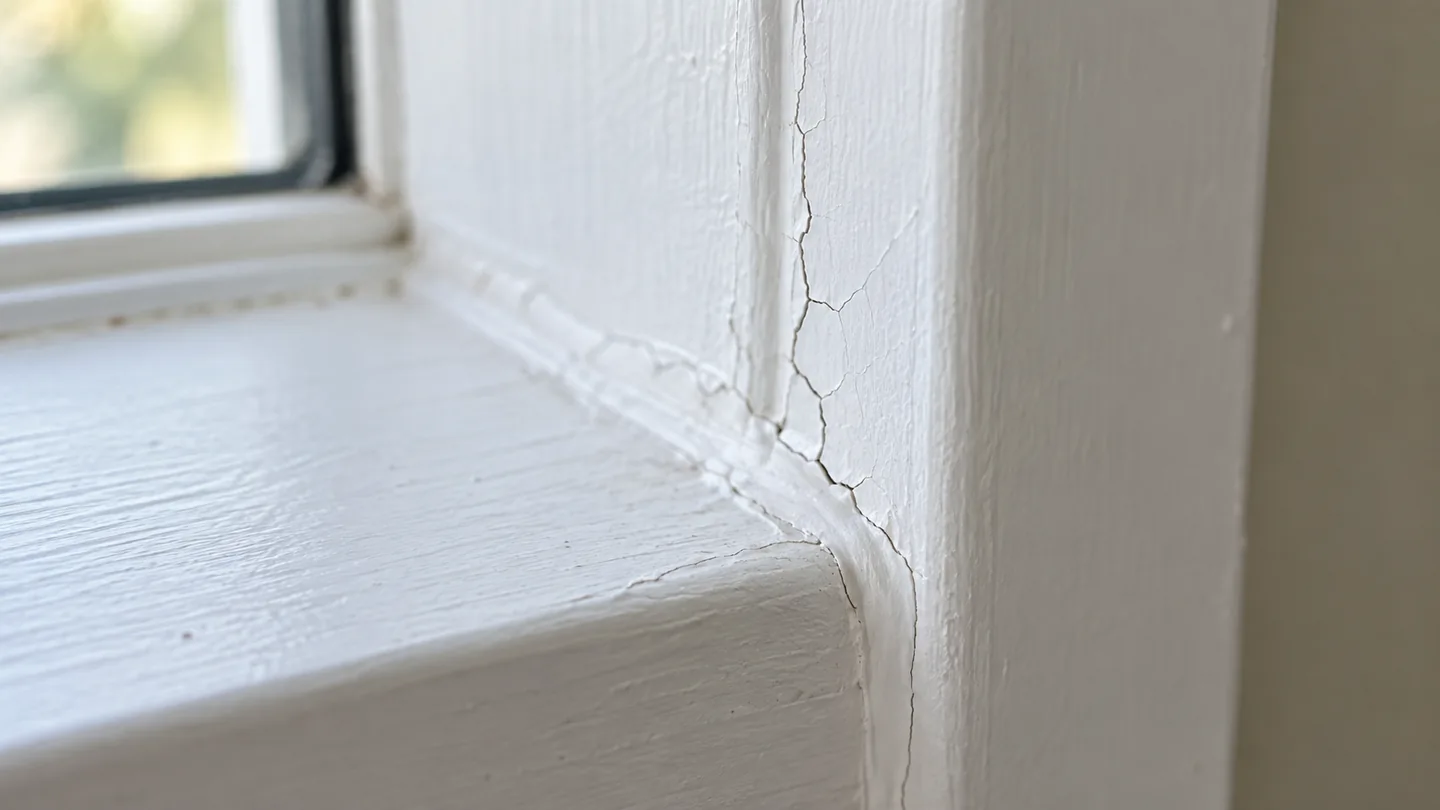
Inspect an accessible section closely without pulling the entire joint apart. Is the sealant still bridging the gap while the paint skin has fine cracks? Has the bead separated from one edge? Or has the joint opened through the full depth? Photograph the condition and note where it occurs.
In this Reddit discussion, a homeowner described repeated cracking after different sealants, primer and finish coats, with several days between stages. The report shows why waiting longer is not a complete diagnosis. The repair needs to account for the joint and materials underneath the visible crack, not simply the date on which the last coat was applied.
Review the exact material combination
Collect the sealant and coating product names, not just their brands. Check whether the sealant is paintable and whether the proposed coating system is appropriate. Products within one brand can have very different purposes. A material intended for a particular exterior or wet-area joint may not behave like a general interior painter's caulk.
Sherwin-Williams: Caulk Paint Cracking or Crawling identifies nonpaintable sealant and paint applied over a partially dried bead as possible causes of cracking or crawling. These are possibilities to check, not proof that either occurred in your room. If the products' instructions leave compatibility unclear, ask the manufacturers to review the combination and provide the actual sequence used.
- Determine whether cracking runs through the paint alone, through the caulk bead, or along one bonded edge; photograph close views with enough surrounding context.
- Record the actual caulk product and paint system, including any previous bead left underneath, rather than treating all products labeled paintable as interchangeable.
- Inspect the joint shape and movement history before adding material, including whether the same crack reappears after temperature changes or normal use of nearby doors.
- Require the proposed repair to address failed adhesion, incompatible materials, or movement as applicable, with preparation and coating intervals taken from the selected product instructions.
Treat bead dimensions as part of the diagnosis
A wide smear used to flatten a rough strip is different from a properly designed joint. The amount of material, joint shape and available drying conditions can change how a bead behaves. A thin dry skin may conceal a different condition below, so an elapsed-hour claim alone is incomplete.
Compare the joint with the sealant's specified geometry and movement limits. Large or unusual openings may need backing or another construction detail rather than more surface caulk. Do not apply a universal bead depth taken from an unrelated product. The selected sealant instructions and the actual joint should determine the design, especially where repeated failures have already shown that the existing approach is unreliable.
Check movement and attachment
Look for a seasonal pattern, loose trim or movement when the assembly is used normally. A joint beside a stair, door or long piece of trim may experience different movement from a static small gap. Record these observations before assuming the paint is too brittle.
Sherwin-Williams: Caulk Failure describes sealant failure as loss of adhesion or flexibility and identifies preparation and unsuitable product selection as relevant causes. A fresh bead cannot compensate indefinitely for a poorly secured component or a joint outside its intended movement capability. Where the surrounding assembly is unstable, address that condition first. The painter may need coordination with a carpenter or another trade rather than a different topcoat alone.
Check preparation and environmental history
Ask what the sealant adhered to: bare porous material, primer, old brittle caulk, dust or a glossy finish. Review the application temperature and the room conditions during drying. The substrate can influence the sealant as much as the coating applied above it.
Avoid reducing the issue to one brand being good or bad. A product that works in one joint may be unsuitable for a different geometry or sequence. Keep the old material labels and photographs if available. A clear record allows a supplier to evaluate the actual assembly rather than offer a general recommendation based on an incomplete description of cracked ceiling corners.
Choose removal or a limited repair deliberately
If the bead has lost adhesion, become brittle or was used to bridge an unsuitable opening, simply painting over it is unlikely to address the cause. Define how failed material will be removed and how the joint will be prepared. Consider lead precautions before disturbing old paint around the joint.
A limited paint correction may be reasonable only when the underlying sealant and joint are sound and the proposed system is appropriate. Do not assume that adding another type of caulk over several failed layers improves reliability. Each added layer can make the assembly harder to understand. Where the original sequence is uncertain, a clean, documented repair may be easier to evaluate than another overlay.
Test a representative joint before repeating the work
Select a section that represents the widest gap, the relevant movement and the existing surface. Apply the proposed preparation, sealant, primer if required and finish according to the actual product directions. Record conditions and the interval between stages.
Inspect the sample after the system reaches its specified stage, and observe it through normal use where movement is part of the problem. A small corner that never moves is not a representative test for a long trim joint that opens seasonally. If the sample cracks, identify which layer released before changing the system. This avoids multiplying an unresolved problem around every door and ceiling edge.
Specify how the repair will be accepted
The proposal should identify the failed material, joint preparation, selected system and inspection conditions. It should also state whether adjacent wall or trim finishing is included, because correcting the bead can leave a visible paint transition even when the joint now performs properly.
At closeout, check adhesion at the edges, continuity of the bead and the appearance of the coating over it. Keep the product information with the project record. If a seasonal follow-up is relevant, agree on how recurrence will be documented. The aim is a repair tied to the observed cause, not an unlimited promise that every joint in a moving building will remain invisible forever.
Questions & answers
Does flat paint always crack over caulk?
No blanket sheen rule explains every failure. Paintability, bead condition, joint dimensions, movement and product compatibility all matter. Review the actual sealant and coating instructions. The appearance of a cracked paint skin should prompt investigation rather than an automatic switch to semi-gloss.
Can I just wait a month and paint it again?
Additional time may help a bead that was not ready, but it will not correct lost adhesion, an unsuitable joint or an incompatible system. Identify the failure first and follow the actual product guidance. A representative test repair is more informative than another arbitrary waiting period.
Should primer go before or after the caulk?
The substrate, sealant and coating system determine the sequence. Some preparation may require priming the surface before sealant, while coating compatibility can raise separate questions afterward. Use the manufacturers’ instructions for the specific assembly rather than assuming one order applies to every joint.
Sources & further reading
- Sherwin-Williams: Caulk Paint Cracking or CrawlingPaint over incompletely dried caulk can crack as the bead shrinks; paintability and joint design matter.
- Sherwin-Williams: Caulk FailureSealant choice, surface preparation and movement affect joint durability; cracked or brittle caulk should be removed.
Reader discussions
These conversations describe problems people encountered. They do not establish the cause of a defect or replace product instructions and applicable requirements.