Choosing a Brush for Waterborne Trim Enamel
Select a brush the enamel manufacturer recommends, with a width and shape that fit the trim. A synthetic brush is commonly specified for waterborne coatings, but stiffness and paint release vary. Test the brush with the exact enamel on a prepared sample. Good loading and a controlled working window matter as much as brand: repeatedly brushing a setting film can preserve marks that a different brush would not prevent.
Start with the enamel rather than a favorite brush
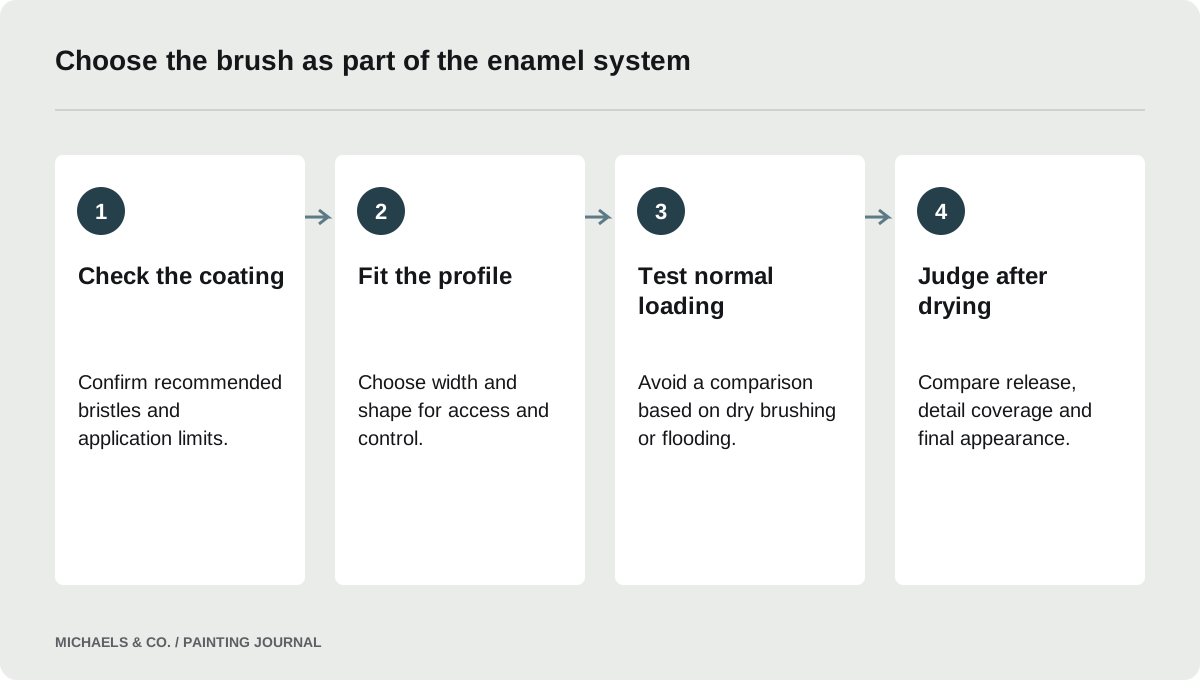
Trim enamels vary in viscosity, working time and leveling behavior. A brush that feels excellent with wall paint can feel stiff or draggy with a different finish. Read the enamel's application directions and identify any specified bristle material, brush style or thinning restriction. Those instructions narrow the comparison more effectively than a general list of popular brushes.
A Reddit question about visible strokes in Emerald Urethane trim enamel attracted suggestions ranging from brush changes to sanding and additives. The report illustrates how several variables become mixed together when the first coat looks rough. It does not establish that an additive or a particular brush will solve the problem. Before changing the coating, confirm that the tool is suitable, the surface is ready and the painter is using the enamel within its working conditions. Then a brush comparison can produce information that transfers to the rest of the project.
Sherwin-Williams identifies nylon, polyester and nylon/polyester blends as waterborne-coating brush choices. Natural bristles absorb water and can lose their intended control. Within the suitable synthetic group, compare stiffness and profile access rather than selecting by bristle softness alone.
Choose stiffness for the profile and your control
Brush stiffness influences how easily you guide paint into details and how much pressure you are likely to apply. A brush that feels too soft may lack the control you need around a narrow edge. One that feels excessively stiff can tempt you to scrub the coating rather than place it. The suitable balance depends on the enamel and the shape being painted.
Sherwin-Williams' guidance on brush and roller marks identifies unsuitable applicators and overworking as contributors to poor leveling. Use that as a reason to compare handling, not to assume all visible marks come from stiffness. Load the brush normally and test it along the actual type of molding. If the profile requires awkward wrist angles or repeated short corrections, try a more appropriate shape or width. Comfortable control reduces the number of passes needed and makes it easier to stop before the film begins setting.
Fit brush width and shape to the work
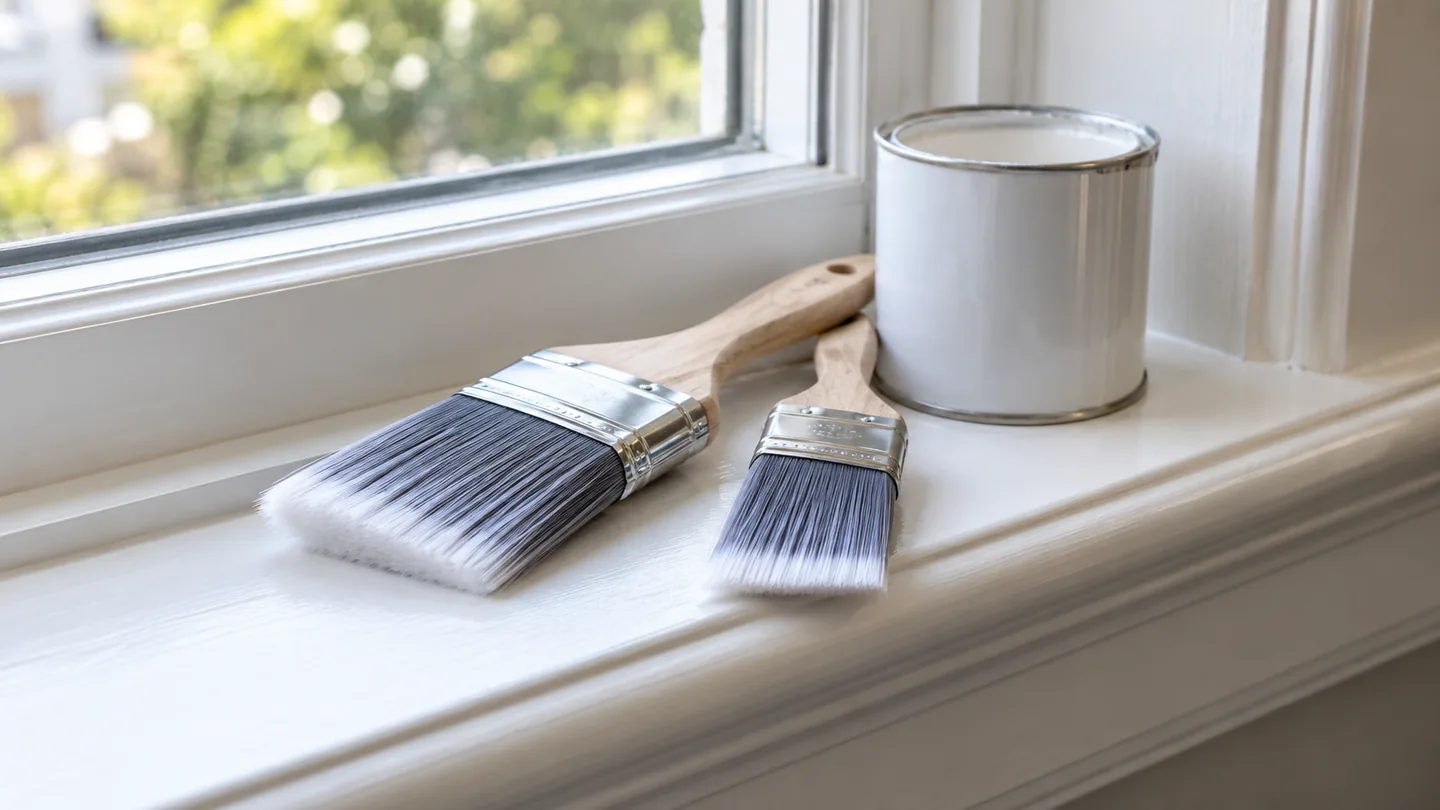
A broad brush can cover a door panel efficiently but may be clumsy on narrow stop molding. A small angled brush can control an edge but become inefficient across a wide flat board. Choose tools for the different parts of the assembly instead of asking one brush to perform every task. Keep the coating consistent while changing the applicator to suit access.
Consider the sequence around corners and recesses. You need to reach the detail without repeatedly dragging through adjacent areas that are already drying. A brush that fits the profile lets you distribute paint without flooding inside corners. Test whether the brush holds enough paint for a useful section while still letting you see the edge. The objective is not the smallest brush or the fewest tools. It is a controlled application that maintains appropriate coverage and leaves enough time for the finish to settle.
Inspect a clean brush before loading
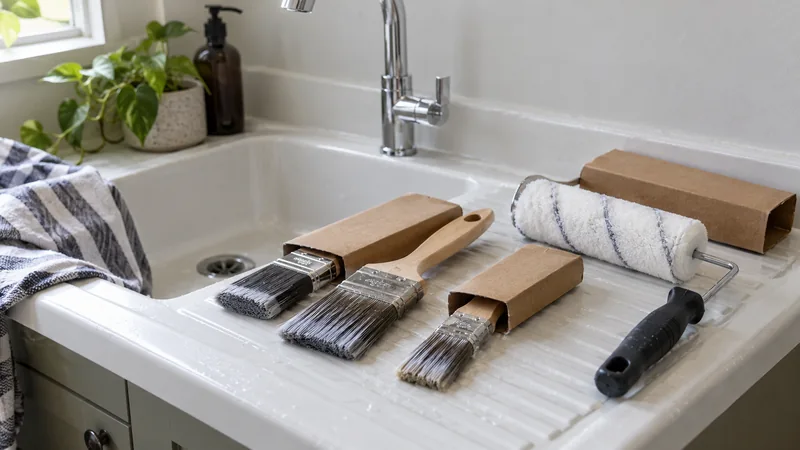
Look for bent tips, dried paint near the heel, loose bristles and contamination from prior work. A brush may appear clean at the ends while hardened residue inside prevents the bristles from moving independently. That changes release and can create drag that looks like a coating problem. Start the test with a brush whose condition is known.
Purdy's brush-care guidance supports treating cleaning and storage as part of tool performance. Avoid letting a brush sit on its tips or storing it crushed beneath other equipment. If a brush has been used with a different coating system, confirm it has been cleaned appropriately before reuse. A tool carrying residual solvent, water or old paint introduces another variable into the comparison. For a critical visible finish, a sound, properly prepared brush is a more useful starting point than a familiar brush with uncertain residue.
Load enough paint to work without forcing it
A nearly dry brush encourages pressure and repeated strokes. A heavily overloaded brush can dump paint into corners and leave heavy edges. Establish a controlled load that allows the bristles to release paint steadily across a manageable section. Keep excess coating out of hardware and deep recesses where it can collect unnoticed.
Work in a sequence that lets you place the coating, distribute it and finish the area while it remains workable. Avoid chasing every small wet mark after the film begins to change. Many enamels develop their final appearance as they settle and dry, so constant correction can make the surface less uniform. Follow the product's coverage and film-build instructions rather than stretching the paint until the brush runs dry. If acceptable coverage requires scrubbing, investigate the substrate, brush and loading instead of assuming harder pressure is the normal method.
Compare brushes with a controlled sample
Use the same prepared board or equivalent trim pieces, the same enamel and the same coat count. Label the brush used on each area. Keep application conditions similar and inspect after the specified drying interval. A wet sample alone cannot show final sheen or whether a heavy edge has remained visible.
- Does the brush release paint evenly without excessive pressure?
- Can it reach the profile without flooding recesses?
- Does it maintain a useful working length between reloads?
- Are loose bristles entering the finish?
- Can you complete the section before it begins setting?
- Is the dried result acceptable under normal room light?
Compare the complete experience, not just one perfectly leveled patch. A brush that produces a fine result only with a pace you cannot repeat around installed trim may not be the best project choice. Record the successful combination before scaling up.
Know when a brush change is not the answer
Raised grain, sanding scratches, old ridges and uneven primer remain beneath the enamel regardless of brush quality. If the sample reveals substrate defects, correct the preparation before continuing the tool search. Likewise, a hot surface, unsuitable room conditions or an enamel outside its application limits cannot be corrected reliably by purchasing a softer brush.
Do not add water or conditioner simply because a forum commenter associates it with fewer strokes. The exact coating sheet controls reduction and additives. If the required appearance exceeds what you can achieve by brush on the selected surface, discuss another application method and its preparation needs. Spraying can change the deposited texture but brings masking and equipment requirements. For most trim work, a suitable brush, sound preparation and a repeatable section size are the decisions to establish before considering a different application system.
Questions & answers
Is an angled brush always best for trim?
An angled brush is useful for many edges and profiles, but a different shape may suit broad flat surfaces or a particular detail better. Choose by access and control with the selected enamel. A small sample is more informative than treating one brush shape as universally correct.
Should I buy the softest brush to avoid strokes?
Not automatically. Excessive softness may reduce control or paint release for your coating and profile. Stay within the enamel manufacturer's recommendations, then compare handling and the dried result. Loading, surface preparation and stopping before the film sets also affect visible brush marks.
Can I reuse my wall-paint brush for trim enamel?
Only if its material, condition and cleaning history suit the enamel. Check for hardened paint inside the heel and any residue from earlier use. A brush that looks clean at the tips can still release poorly, so test it before painting prominent trim.
Sources & further reading
- Purdy: Painting Tool FAQsClean immediately with the appropriate cleaner; remove residual coating and store brushes without bending their tips.
- Sherwin-Williams: Brush or Roller MarksWrong applicators, overworking, premature reworking and unsuitable film build can prevent leveling.
- Sherwin-Williams: Painting Application FAQsNylon, polyester and blended synthetic brushes are appropriate choices for waterborne coatings; natural bristles absorb water.
Reader discussions
These conversations describe problems people encountered. They do not establish the cause of a defect or replace product instructions and applicable requirements.