Choosing Ceiling Paint for Large Smooth Ceilings
For a large smooth ceiling, start with a ceiling-suitable coating whose reflectance and application properties match the room, then make the substrate uniformly prepared and primed where required. Flat appearance can reduce reflected light, but it cannot hide every ridge or uneven repair. Product working time, crew access and a consistent application sequence matter because a broad ceiling exposes changes in texture and sheen.
Read the room's light before reading the color card
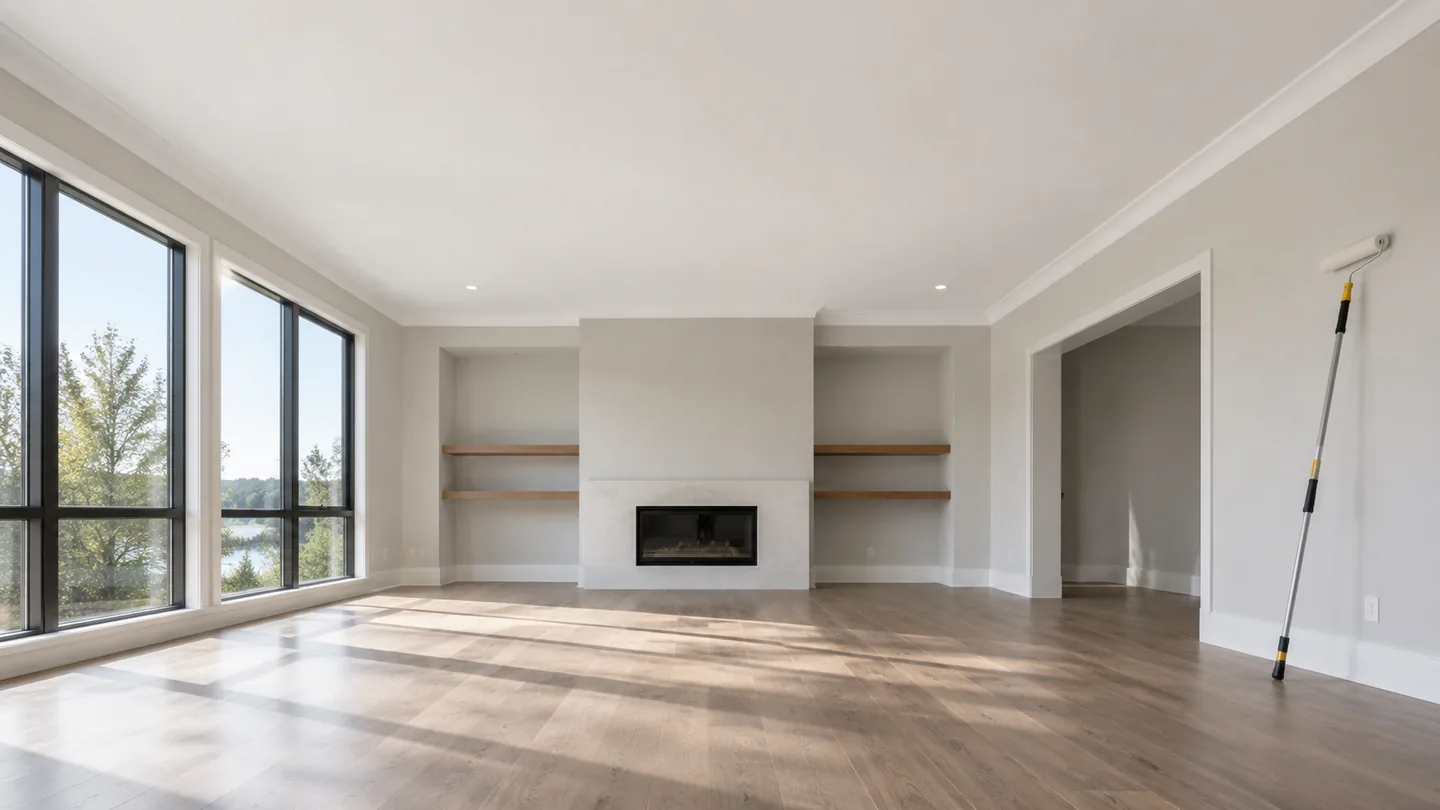
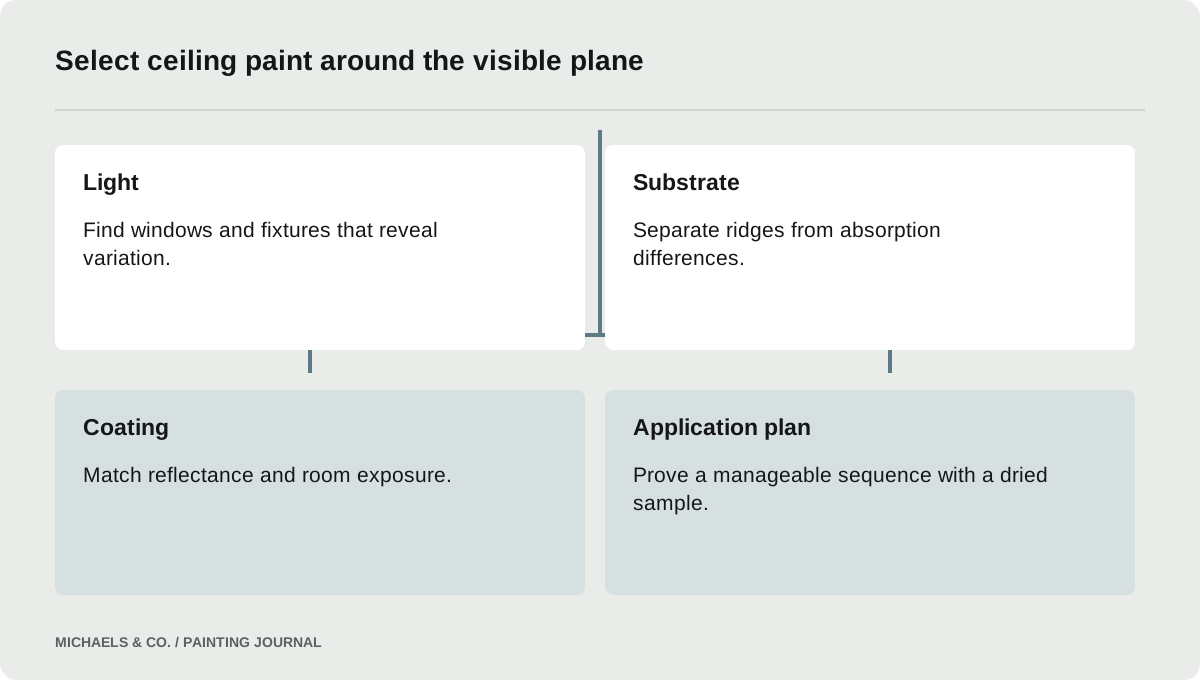
A smooth ceiling is a large continuous surface. Windows, skylights and low-angle fixtures can reveal ridges and application differences that disappear under diffuse light. Inspect the ceiling at the times of day when it will normally be used. Note where light travels nearly parallel to the surface and where permanent fixtures will accentuate irregularities.
A Reddit discussion about sprayer lap lines on a ceiling illustrates the difficulty of judging a broad overhead surface by color coverage alone. That report does not establish a single cause, but it points to an important selection issue: the coating and application plan must suit the real lighting. Decide whether the intended result is a low-reflectance ceiling, a deliberately reflective feature or a match to adjoining areas. A generic white label says little about how the finished plane will look when afternoon light reaches it from one side.
Choose reflectance deliberately
Flat finishes are commonly chosen for ceilings because they limit reflected light, while more reflective finishes can emphasize surface variation. Benjamin Moore's finish-selection guidance explains the visual differences between sheen categories. The exact product still matters: two finishes called flat may not look identical, and a ceiling paint's intended use should be checked rather than inferred from the sheen name.
For an ordinary dry room, compare ceiling-specific products with the appearance and application properties you need. For a humid bathroom ceiling, add exposure suitability to the decision instead of automatically using the same flat coating as the living room. If a designer calls for a reflective finish, understand that the substrate standard may need to be higher. Paint selection can reduce the visibility of minor variation, but it cannot convert poorly finished drywall into a visually flawless reflective plane.
Separate paint hiding from surface flatness
A coating can hide the underlying color while leaving sanding ridges, joints and repair edges visible. Inspect the substrate before selecting a more expensive finish to solve what is actually a preparation issue. Use appropriate lighting to locate raised edges and inconsistent texture. Determine whether existing stains need a separate blocking system and whether the source of a stain has been resolved.
Porous repairs and surrounding sealed paint can absorb differently. A suitable primer system helps address that absorption difference, but it does not level physical ridges. Write down the preparation scope separately from the finish-paint choice. For hired work, this prevents a later disagreement about whether a quote for repainting included flattening old joints or correcting historic texture. For DIY work, it prevents repeated finish coats from becoming the default response to every visible imperfection. Evaluate the prepared and primed ceiling before committing to the final finish.
Compare application behavior on a realistic sample
A ceiling sample should be large enough to include several overlapping passes and, where relevant, a prepared repair. A small square near a corner can show color but may hide the handling difficulties of a wide open plane. Use the intended primer, applicator and coat count, and inspect after the coating reaches the appropriate evaluation stage.
Sherwin-Williams' guidance on brush and roller marks identifies application choices and overworking as factors that affect leveling. In a sample, note how long a manageable section remains workable under the actual conditions. Do not confuse this observation with permission to exceed the manufacturer's limits. If the coating becomes difficult to blend before you can complete a practical section, reconsider staging, crew size or a different suitable product. The useful paint is one you can apply consistently across the ceiling, not one that looks good only in a tiny demonstration.
Plan reach and section size before the first coat
Ceiling work is physically demanding, and fatigue can change pressure, speed and distance. Stage extensions, platforms where appropriate and paint loading so the operator can maintain control without overreaching. Clear the room enough that movement is predictable. A beautifully chosen coating still suffers when the painter must stop every few feet to move furniture or untangle a hose.
Choose a sequence that keeps a workable edge within the coating's application window. Account for beams, recesses and fixtures that interrupt the plane. If spraying and back-rolling are specified, coordinate the two operations so the roller follows at the intended stage. If rolling alone, avoid painting scattered islands that later need to be joined. Do not chase every wet difference under strong light; wait for the appropriate dried evaluation before deciding whether it is a coverage issue. Repeatedly revisiting a setting film can create additional variation.
Use a ceiling-selection checklist
A useful purchase decision can be recorded on one page. Include the product line and sheen, approved substrate, primer system, application method and conditions. Add the sample location and the lighting under which it was accepted.
| Question | Why it changes the choice |
|---|---|
| Dry room or humid bathroom? | Exposure suitability may narrow the products |
| Strong grazing light? | Surface preparation and reflectance become more visible |
| New drywall or mixed repairs? | Absorption may need a unified primer system |
| Large uninterrupted plane? | Working time and access affect consistency |
| Future spot repairs expected? | Record product and application texture for maintenance |
Keep color separate from these decisions. Two products tinted to a similar white can differ in sheen, handling and intended service, so a color match alone is not a complete substitute specification.
Approve the dried ceiling under agreed conditions
After the required coats have dried appropriately, inspect from normal positions with the room's intended lighting. Distinguish a physical substrate ridge from an application boundary or a localized color difference. That distinction guides any correction and prevents unnecessary repainting of an entire ceiling for a problem that finish paint cannot solve.
For a contractor project, agree on the sample and viewing conditions before the whole area is finished. For a facilities team, keep the product code, batch information where available, applicator type and application sequence in the maintenance record. A later ceiling repair may need more than a small spot of leftover paint to blend visually, particularly under strong side light. The selection process is successful when the ceiling's appearance, preparation standard and maintenance expectations are understood together. Choosing the flattest label on the shelf is only one part of that decision.
Questions & answers
Is ceiling paint different from ordinary flat wall paint?
Products can differ in handling, reflectance and intended use even when both are labeled flat. Compare the actual technical information and sample appearance. Do not assume that a wall paint is unsuitable or a ceiling paint is suitable solely from the name.
Will extra coats hide ceiling joints?
Extra finish paint can improve color hiding but will not flatten raised joints or repair edges. Evaluate whether the visible line is physical texture, uneven absorption or an application issue. Correct the underlying cause instead of repeatedly adding coats without a diagnosis.
Should the final roller passes follow the window light?
A consistent finishing direction may help the application pattern, but it does not replace correct preparation, loading and working time. Test the intended sequence under the real lighting. Avoid treating one direction rule as a guarantee for every room shape and coating.
Sources & further reading
- Benjamin Moore: How to Choose a Paint FinishSheen changes reflectivity, visibility of defects and suitability for cleaning; select within the actual product family.
- Sherwin-Williams: Brush or Roller MarksWrong applicators, overworking, premature reworking and unsuitable film build can prevent leveling.
Reader discussions
These conversations describe problems people encountered. They do not establish the cause of a defect or replace product instructions and applicable requirements.