Drywall Patches Still Show After Primer: Flashing or a Texture Mismatch?
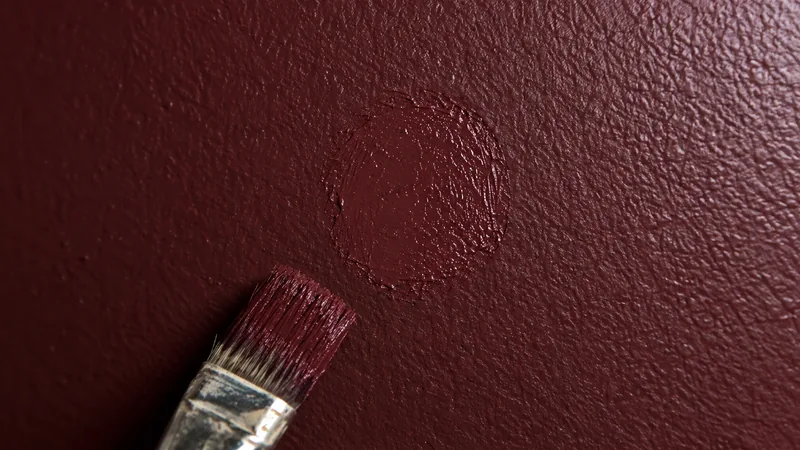
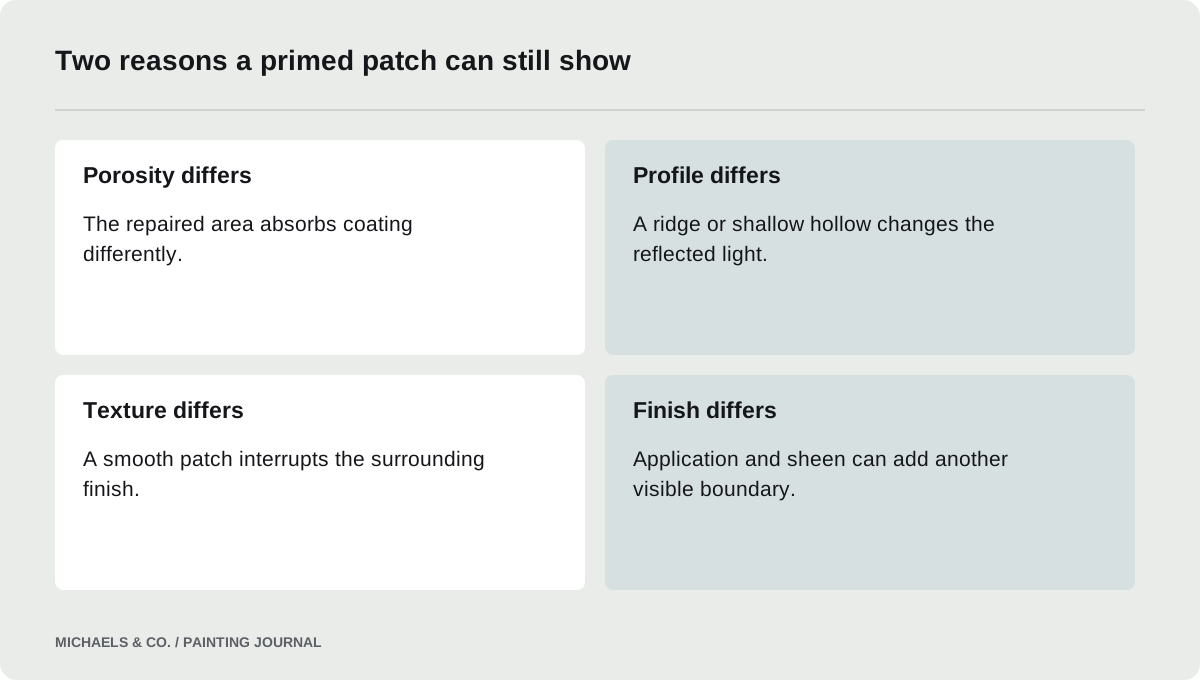
Primer can reduce absorption differences without making a drywall patch physically match the surrounding wall. If a repair still shows, compare its sheen, texture and shape after the finish is ready for inspection. A shiny or dull patch may need better surface uniformity, while ridges or smooth islands need physical correction. Repeated finish coats should follow a diagnosis rather than serve as the diagnosis.
Describe exactly how the patch shows
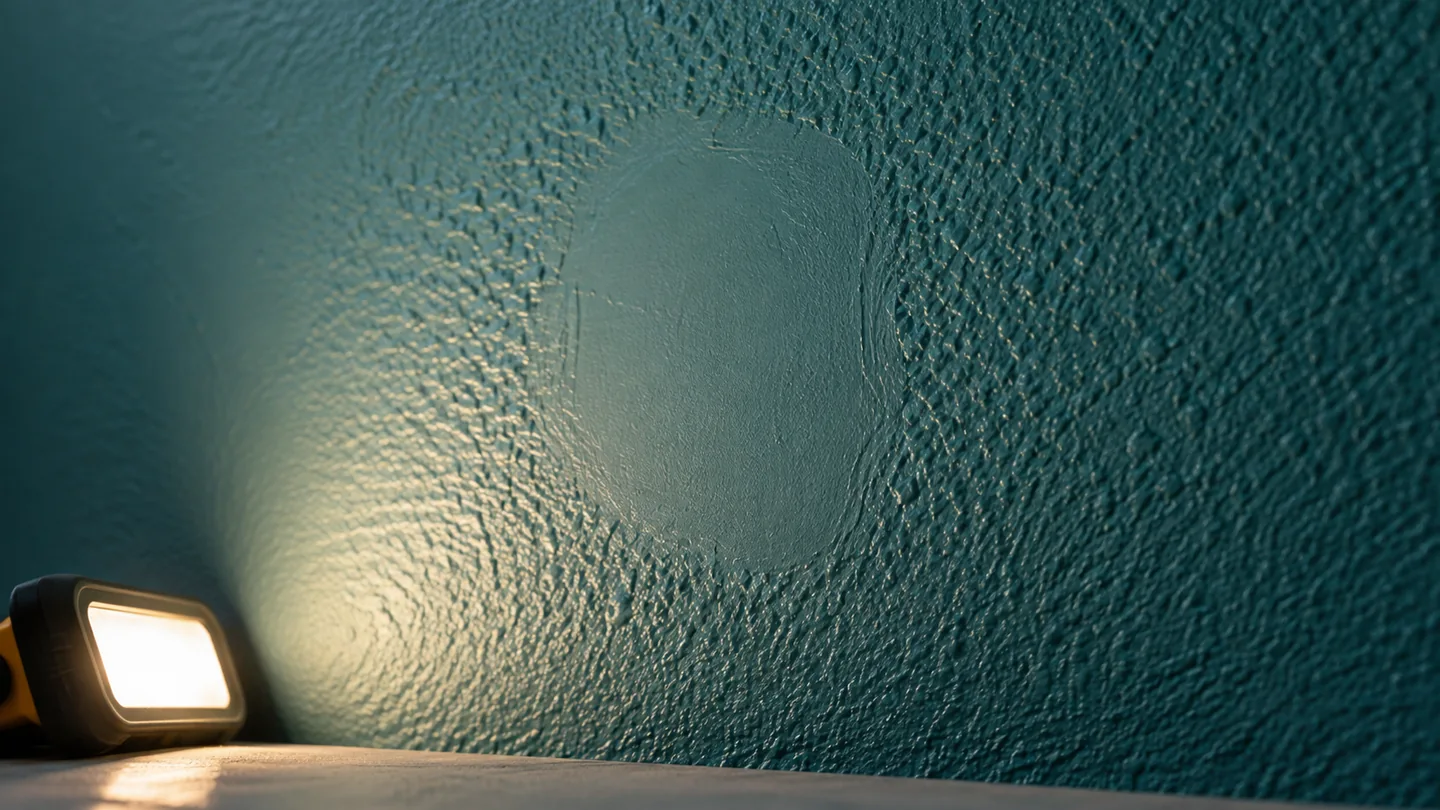
Look at the wall head-on, then from the ordinary approaches to the room. Record whether the repair is a different color, a different sheen, a raised shape or a smoother area. Photograph the whole wall as well as the patch so the lighting and scale remain clear.
In this Reddit discussion, a homeowner had spackled, sanded, primed and painted, yet the repaired areas remained visible. Comments disagreed about drying and texture. The report supports a common question: why did primer not make the repair disappear? The answer depends on what remains visible. Primer is not a universal correction for every difference between repaired drywall and the surrounding finish.
Separate absorption from physical profile
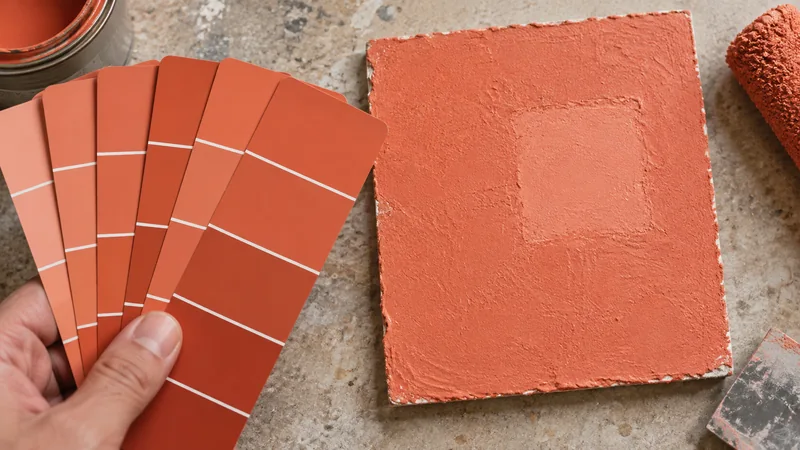
Fresh repair compound and an existing painted wall can absorb coating differently. That can produce a difference in sheen even where the surface feels flat. Sherwin-Williams: How to Fix Paint Flashing identifies porosity and uneven film build as possible causes of flashing and describes sealing repaired areas as part of the response.
A physical profile difference is another matter. A ridge can catch light, and a smooth patch can reflect it differently from surrounding roller texture. More primer may cover both surfaces while leaving that geometry unchanged. Use this distinction to choose the next operation: correct an uneven profile before coating, or address absorption where the profile already matches. Some repairs need both steps.
- Examine the patch in ordinary room lighting and with light crossing the wall, separating a visible outline from a change that appears only in reflection.
- Run a careful visual check of the patch perimeter for ridges, depressions, or sanding scratches before expecting primer to hide a physical contour.
- Compare the porosity and texture of the repaired area with surrounding paint, including any smooth skimmed island inside an otherwise stippled wall surface.
- Approve a representative repaired and painted area before repeating the method across every patch, especially on dark walls or walls beside large windows.
Check whether the repair is actually ready
Review the repair compound, its application depth and the conditions in the room. A dry-looking face does not always mean that the material is ready for the next stage. Follow the repair product's instructions rather than applying finish according to a fixed schedule carried over from another room.
The paint also needs an appropriate evaluation interval. A recently applied patch can change as it dries, so do not keep chasing a wet difference with a brush. Record the sequence and conditions if the problem has repeated. That history helps distinguish premature coating from a texture mismatch that would remain even after generous drying time.
Examine the transition into the old wall
Focus on the perimeter of the repair. A narrow steep edge is more likely to reveal the patch than a gradual, properly finished transition. Check for sanding scratches, dust, torn paper and small ridges left by the repair tool. The center of a patch can be smooth while its edge still announces the repair.
If corrective sanding or removal is needed, consider the age and identity of the old coating first; lead precautions may apply. Protect adjacent finishes and avoid abrading broadly without a plan. The purpose of preparation is to create a stable, compatible surface, not simply to make the patch white again. Damaged drywall paper may require its own treatment before more compound is applied.
Reproduce the surrounding texture deliberately
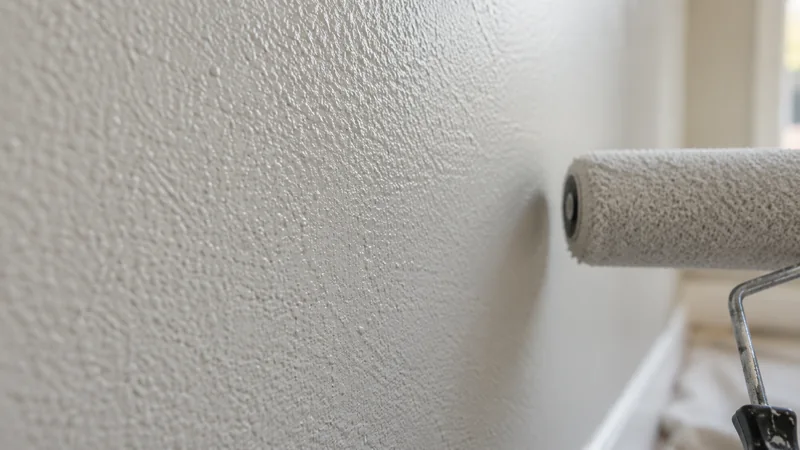
Sherwin-Williams: Obvious Repair (Touch-Up) identifies repair texture as a reason touch-ups become obvious. Compare the patch with nearby unaffected wall. Is the surrounding surface an intentional texture, a fine roller profile or a sprayed finish? The correction should aim to reproduce that actual appearance rather than an imagined perfectly smooth wall.
A small trial is useful when the texture is unfamiliar. Evaluate it dry and under the same lighting as the problem area. Do not assume a thicker roller cover automatically fixes every smooth patch; it may create a new coarse island. The paint's applicator requirements and the existing finish both matter. If the surrounding wall itself varies substantially, agree on the achievable result before extending the work.
Seal for the substrate and finish system
Select primer according to the repaired material, the condition of exposed paper or old coating, and the finish system. A bonding product, a stain blocker and a drywall sealer do different jobs. The word primer on a container does not establish that it is appropriate for every layer in this repair.
Decide whether the preparation should remain local or extend across a larger surface based on the condition and the system instructions. Blanket recommendations for several primer coats can add work without correcting the cause. The sample should demonstrate both a sound surface and acceptable uniformity before the final wall is recoated. Keep the chosen products and sequence documented so the successful result can be repeated.
Include repaired fastener holes as well as larger patches in the review. A repeated field of small smooth spots can reveal texture differences that are easy to miss when examining only the largest repair.
Recoat to a boundary that supports uniform appearance
Once profile and absorption are corrected, assess whether a local finish repair can meet the goal. A wall beside a large window may reveal small differences that are less obvious in a sheltered area. This is a reason to discuss scope, not to blame the owner for seeing the patch.
A whole-wall finish coat may be appropriate, but it cannot hide a ridge that preparation left behind. Plan the edge work and maintain a consistent application across the plane according to the coating instructions. Avoid repeatedly revisiting the patch while the rest of the wall sets. Uniform finishing works best when the underlying surface has already been made suitable for it.
Inspect the repair using agreed conditions
Use the room's normal lighting and the conditions agreed for the project. Compare the result to any accepted sample, not an improvised extreme-light test introduced only after completion. At the same time, do not ignore a defect clearly visible during ordinary use simply because it disappears from one selected angle.
The closeout checklist should distinguish profile, texture, color and sheen. Record which items were corrected and whether any existing wall variation remains outside the scope. If a repair still shows, name the unresolved difference before proposing another coat. That keeps the next decision specific and avoids cycling through primer and paint while the actual problem remains a physical patch edge.
Questions & answers
Does every drywall patch need primer?
The repair material and selected finish system determine the preparation. Porous repaired areas commonly need appropriate sealing, but the exact product instructions control. Primer should be chosen for the actual substrate and purpose; it is not a substitute for correcting a ridge or mismatched texture.
Will a flatter paint hide the patch?
A flatter finish may make some surface differences less conspicuous, but it does not remove a raised edge or reproduce missing texture. Changing sheen is an appearance decision for the whole surface. Diagnose and correct the repair first rather than relying on sheen to conceal defective preparation.
Why does the patch look fine in one direction and obvious in another?
The light may be revealing a change in sheen or physical profile. Compare the dry repair from normal room positions and inspect the surface transition. That helps distinguish absorption-related flashing from a ridge or texture difference, which require different corrections.
Sources & further reading
- Sherwin-Williams: How to Fix Paint FlashingUneven porosity and film build can change sheen; sealing repairs can help equalize absorption.
- Sherwin-Williams: Obvious Repair (Touch-Up)Application tools, batch, repair texture and environmental differences affect how a touch-up blends.
Reader discussions
These conversations describe problems people encountered. They do not establish the cause of a defect or replace product instructions and applicable requirements.