Paint Bubbles on the Other Side of a Shower: When Painting Must Wait
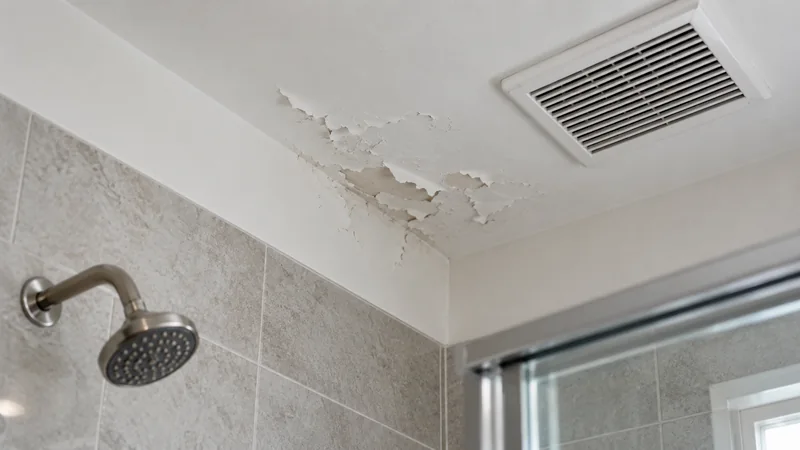
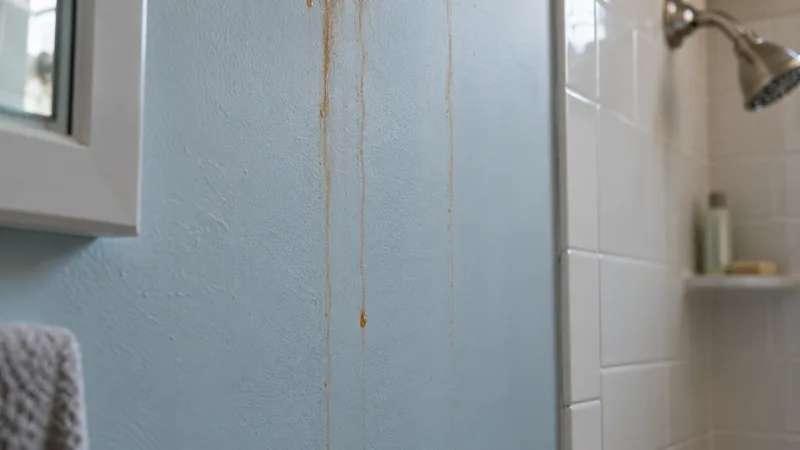
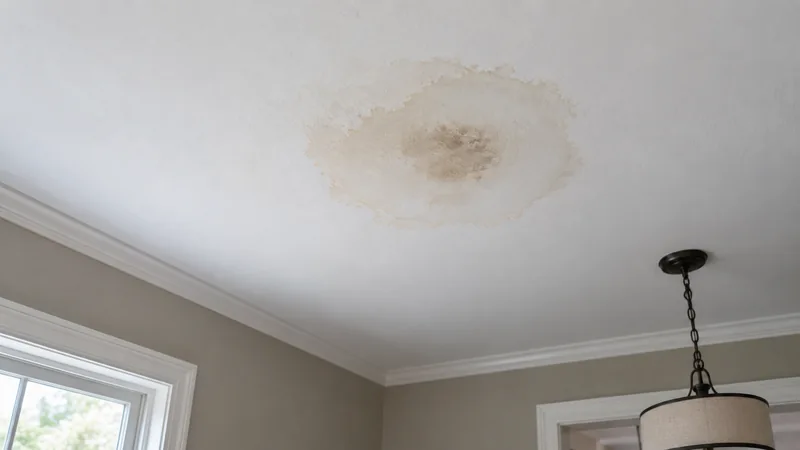
Bubbles on the opposite side of a shower deserve a moisture investigation before cosmetic repair, especially when the bathroom face is also peeling. The location makes a water path plausible but does not prove a plumbing leak or mold. Record the pattern and timing, inspect accessible building conditions, and have concealed faults assessed when needed. Paint only after the source and any damaged material have been addressed.
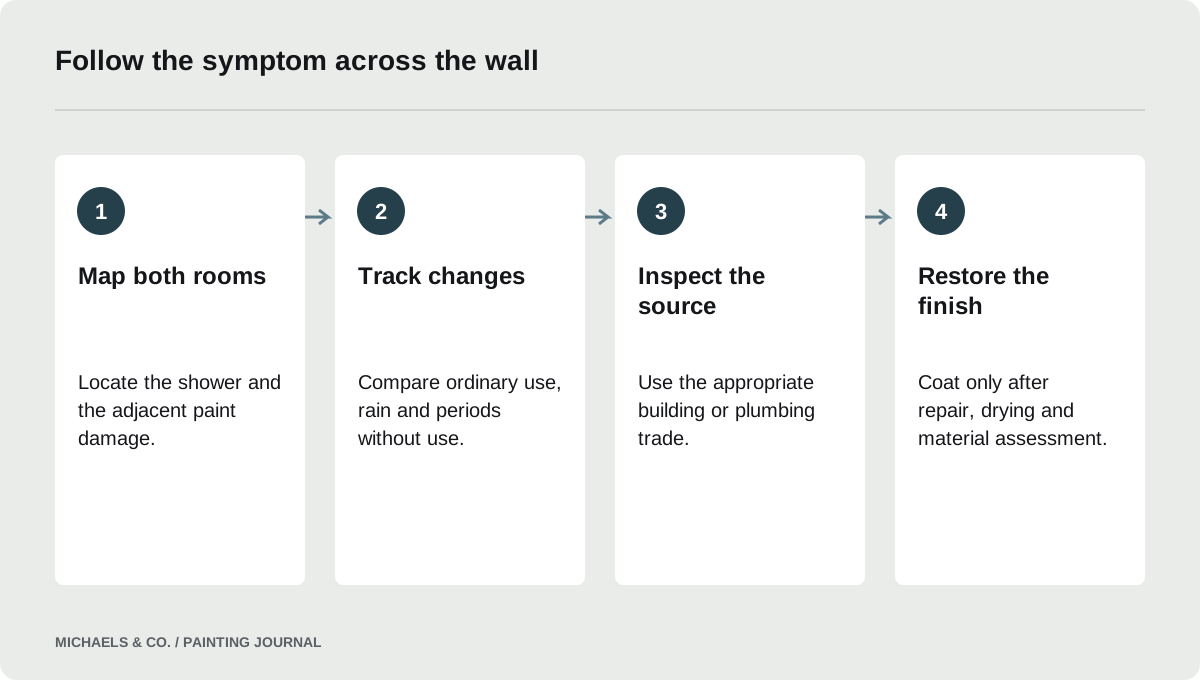
Connect the two rooms before diagnosing either surface
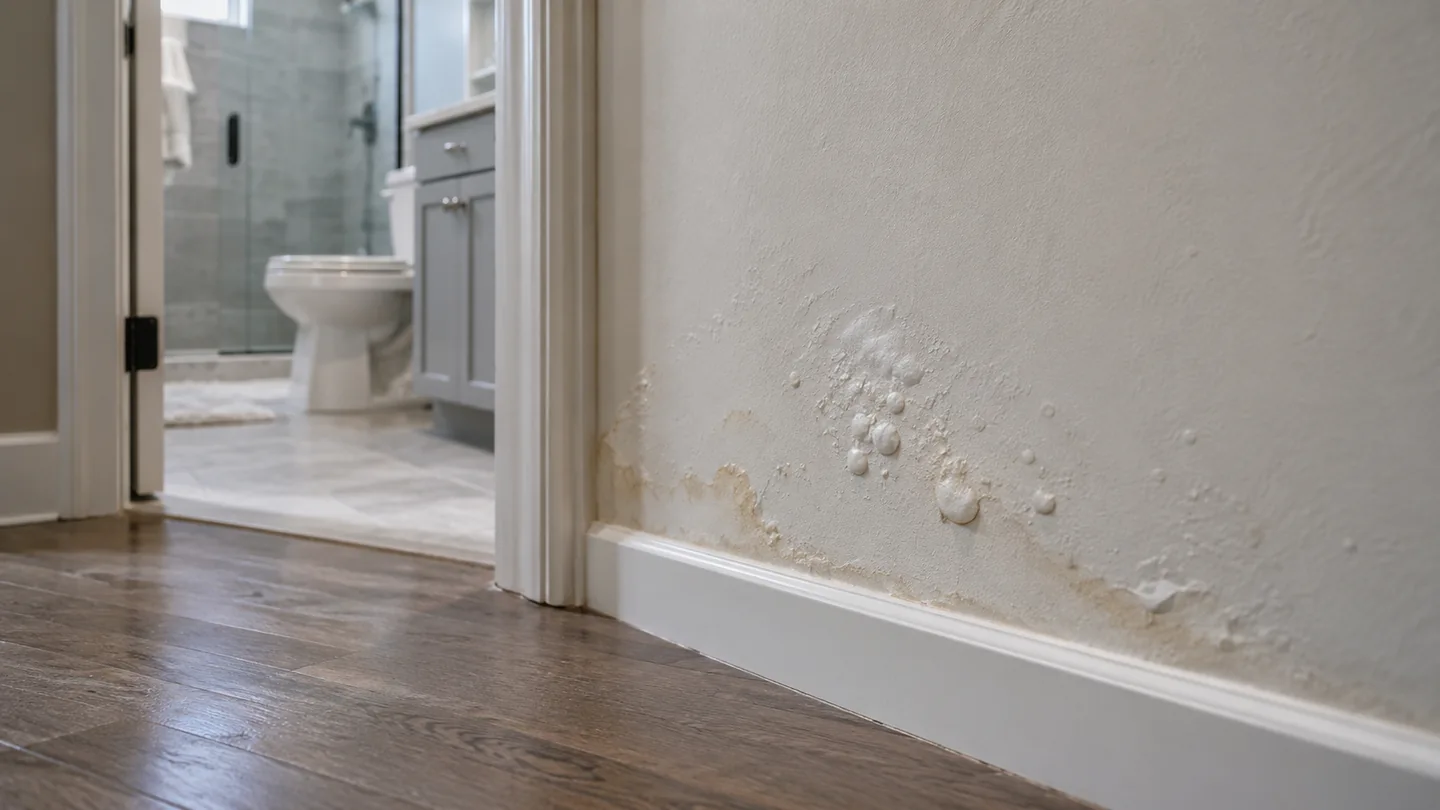
Draw a simple plan showing the shower, controls, supply connections, window and damaged wall in the adjacent room. Note whether the bubbles line up with the enclosure, a corner, the ceiling or an area farther away. This helps the person investigating understand the assembly rather than treating two photographs as unrelated paint defects.
The owner in this Reddit discussion described dry bubbles in a guest bedroom and peeling paint on the shower side of the same wall. The report is a useful warning to consider both rooms. It is not enough to identify a particular failed pipe, waterproofing layer or ventilation problem. Water can travel, so alignment is a starting point rather than a confirmed origin.
Record when and how the defect changes
Photograph the area at intervals during normal household use. Note shower use, rain, plumbing work and any periods when the room was unused. Record whether the defect is expanding, whether the surface feels softened, and whether stains or odors are also present. Avoid repeatedly scraping away evidence while trying to make the room look tidy.
A dry blister today does not establish that there was never moisture behind it. Conversely, an old stable blister does not prove an active leak. A useful investigation distinguishes historical damage from a condition that is still changing. If there is visible active water, focus on stopping it and protecting the property rather than waiting for a painting appointment.
- Photograph the wall and adjacent shower geometry together so a plumber can relate the damage to valves, joints, penetrations, and the shower base.
- Note whether the damaged area changes after shower use, rain, or neither, without deliberately flooding joints or opening walls to create a diagnostic experiment.
- Record any swelling, softness, odor, or expanding stain boundary and pass that information to the person investigating the concealed source of water.
- Ask who will confirm the substrate is suitable for repair after the leak investigation; a painter's finish inspection cannot substitute for resolving concealed wetness.
Keep condensation and concealed water entry separate
Surface condensation and water entering the wall from the shower assembly may produce overlapping symptoms, but their repairs differ. Room ventilation can help manage indoor humidity. It cannot repair a plumbing connection, a failed enclosure detail or another concealed water path.
Sherwin-Williams: Peeling Due to Moisture Inside discusses indoor moisture and peeling, including the role of ventilation. Use that guidance as one branch of the investigation. Check the shower enclosure and accessible adjacent areas with the appropriate trade when the damage pattern suggests more than surface humidity. Do not assume that adding a fan or using a more washable paint has addressed water moving inside the wall.
Decide who needs to inspect the assembly
The painter can identify the condition of the coating and the visible wall surface. A plumbing-related pattern may need a plumber; uncertainty about the enclosure or concealed building assembly may need a qualified repair specialist. Explain the observations and provide the room sketch so each person can work from the same evidence.
Ask for findings to be stated plainly: what was inspected, what was found and what remains uncertain. A statement that the paint looks wet is not the same as identifying a leak. If an opening is needed, agree on its location and on who restores the wall afterward. Coordinating that work avoids repeated openings and premature cosmetic repairs.
When several trades are involved, identify one person who keeps the shared findings. Separate invoices can otherwise leave a gap: the plumber believes wall drying belongs to the painter, while the painter assumes it was already verified. Agree explicitly who confirms readiness for closure and who documents that decision.
Assess the wall material before deciding to keep it
Look beyond the paint film when material is exposed. Wallboard that has softened, paper that is damaged, or crumbling plaster may require more than stain blocking. The decision to retain material should be based on its condition and the moisture or contamination assessment, not simply whether a patching compound will cover it.
EPA: A Brief Guide to Mold, Moisture and Your Home emphasizes correcting water problems and drying affected surfaces; it also notes that some affected porous materials cannot be cleaned adequately. Do not diagnose mold type from color or an online photo. Where the extent or cleanup method is uncertain, get an appropriate assessment before sealing the wall. Paint can conceal a surface while leaving the reason for the damage unresolved.
Verify the repair before closing the cosmetic work
After the water-related work, document what changed and how the relevant condition was checked. The verification should correspond to the suspected source. A plumbing repair and a weather-related leak have different observation needs. Avoid improvised flooding or prolonged steam tests that could damage an otherwise serviceable assembly.
Drying is also a condition to establish, not a date to guess. The face may dry sooner than deeper material, and an apparently small defect may have a wider affected area. Let the responsible repair professional determine the assessment needed before closure. Keep the findings with the project record so the painter knows whether the underlying condition is ready for finishing.
Rebuild the coating only on a suitable base
Remove failed paint to a stable boundary and prepare the remaining substrate appropriately. Older or unknown coatings may require lead precautions before disturbance. If the wall has been opened or material replaced, match the surrounding surface profile before expecting paint to hide the repair.
Choose primer for the actual job: bonding, sealing a repaired porous area and isolating a residual stain are different functions. Follow the selected system's instructions and test a representative area where compatibility is uncertain. Do not describe primer as waterproofing the wall behind the shower. Its purpose in this stage is to support the finish on a sound, suitably prepared surface.
Close out both the visible repair and the investigation
Compare the completed bedroom wall under normal lighting, and check the bathroom side too. A repair should not be considered complete solely because the bedroom color matches. Keep photographs of the underlying work, product information and any maintenance instructions related to the shower or ventilation.
Use a short follow-up checklist: has the original pattern returned; is there new staining; are accessible joints and drainage details performing normally; and has any adjacent area changed? If a symptom recurs, return to the recorded source investigation rather than immediately rolling on another coat. That record gives the next contractor a useful starting point and reduces the chance of repeating an ineffective cosmetic repair.
Questions & answers
Does bubbling behind a shower always mean a pipe is leaking?
No. The position makes moisture investigation sensible, but the source could involve the enclosure, room condensation, another building path or old damage. Timing and inspection are needed to distinguish them. The paint appearance alone cannot identify the concealed component responsible.
Can I use waterproof paint in the bedroom to stop it?
A bedroom coating is not a repair for water entering through the wall assembly. Sealing the visible symptom can also make it harder to observe changes. Address the source and assess affected material first, then choose an appropriate interior finish for the repaired surface.
The bubbles feel dry. Is repainting safe to start?
Dry-looking surface damage may be historical, but touch alone does not establish the condition inside the wall. Review whether the defect changes with normal use and verify any suspected moisture source. Start coating work after the substrate condition and required drying have been assessed.
Sources & further reading
- Sherwin-Williams: Peeling Due to Moisture InsideAddress excess moisture and ventilation before removing failed paint and preparing the underlying surface.
- EPA: A Brief Guide to Mold, Moisture and Your HomeFix water problems and clean and dry affected surfaces before painting; damaged porous materials may need replacement.
Reader discussions
These conversations describe problems people encountered. They do not establish the cause of a defect or replace product instructions and applicable requirements.