Brown Drips on Bathroom Walls: Surfactant Leaching or Something Else?
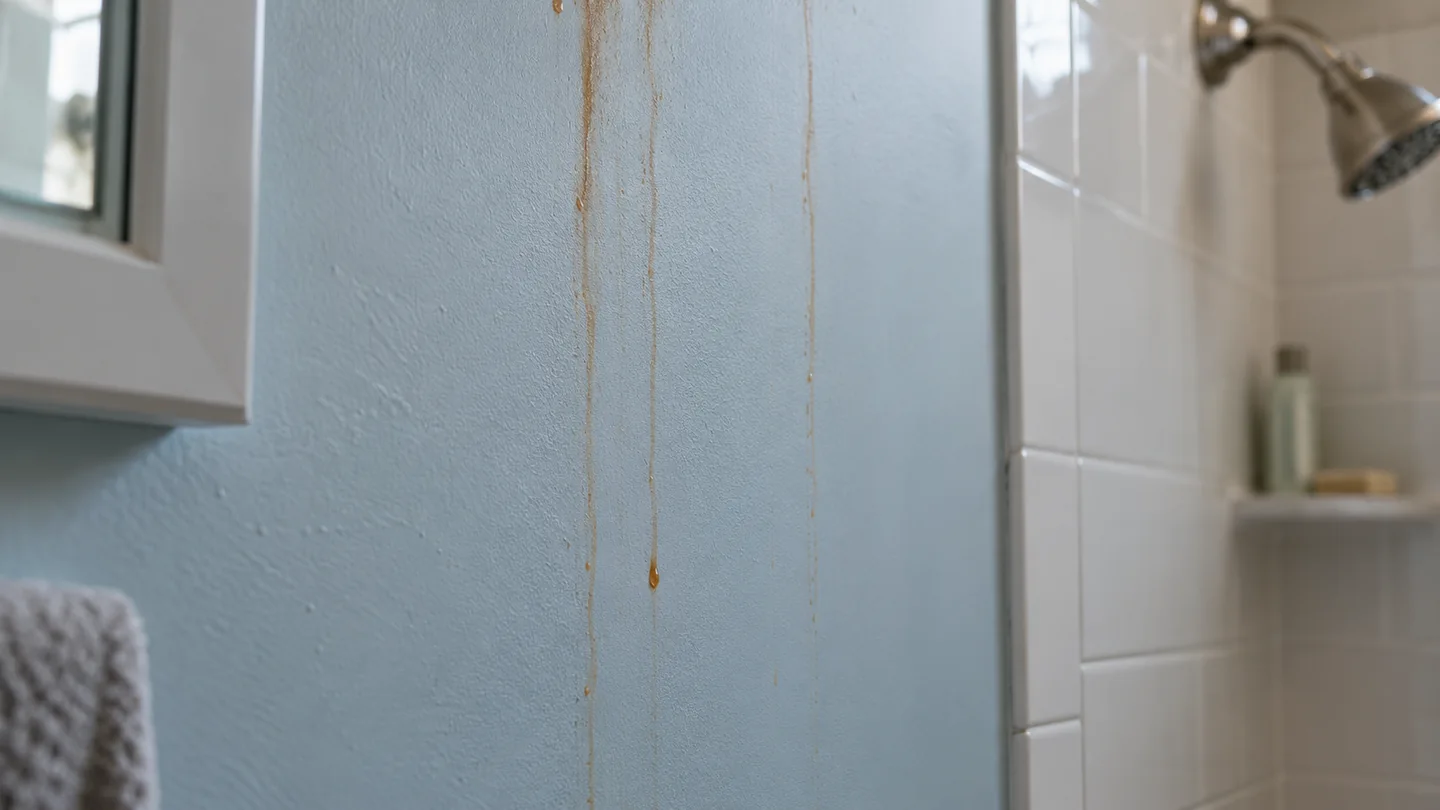
Brown drips on a bathroom wall may be surfactant leaching, where water-soluble paint ingredients collect on the surface under humid conditions. Similar-looking marks can also involve dirt, an old stain or water damage. Inspect the film and pattern, then try gentle cleaning in a small area according to the coating guidance. Do not repaint unidentified residue or assume that every brown mark is harmless leaching.
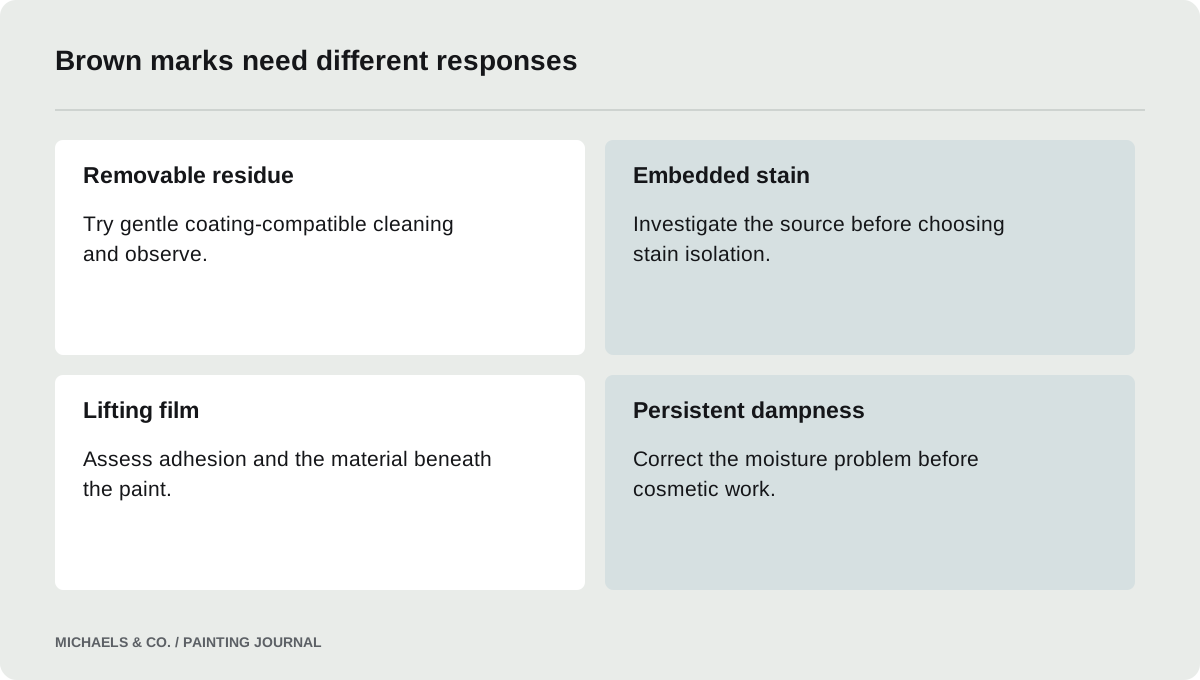
Start with the mark, not its color alone
Describe whether the mark is a drip, a broad stain, a glossy patch or a powdery deposit. Note whether the paint film is intact or lifting. Record whether the marks appeared shortly after painting, after showers or long after the room was finished. These observations narrow the questions without pretending that a photograph establishes the answer.
In this Reddit discussion, a homeowner described persistent brown streaks despite nobody smoking in the house. The question was how to avoid them after repainting. That is a useful reason to identify the residue before choosing a stain blocker. Brown coloration alone cannot distinguish a paint ingredient from dirt runoff, an older contaminant or water entering the wall.
Understand what confirmed surfactant leaching means
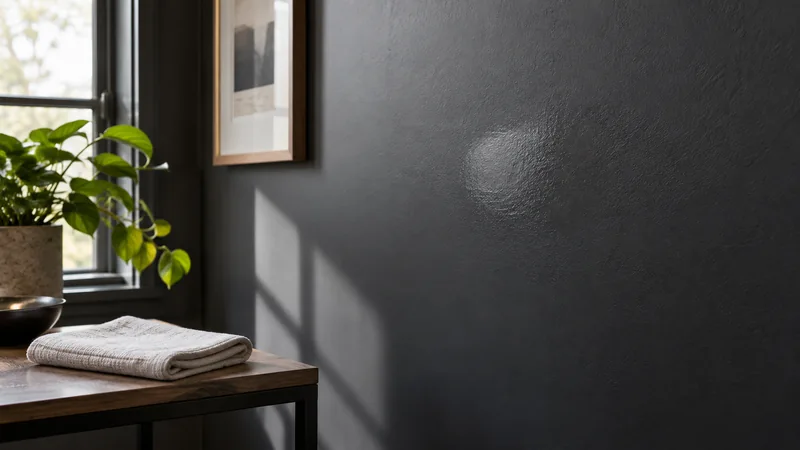
Water-based coatings contain ingredients that help the material perform during manufacture and application. Under certain drying and humidity conditions, water-soluble components can reach the film surface early and leave visible residue. The appearance can be sticky, glossy or discolored rather than a neat uniform stain.
Benjamin Moore: Surfactant Leaching describes this mechanism and distinguishes it from water stains. It also states that confirmed leaching is a cosmetic concern rather than damage to the coating itself. Keep that qualification attached to the statement. An unidentified brown area with peeling, softened material or an expanding wet patch should not be dismissed simply because leaching exists as one possible explanation.
- Photograph the drips before cleaning and note whether they are sticky, glossy, brown, or simply discolored; appearance alone does not establish their composition.
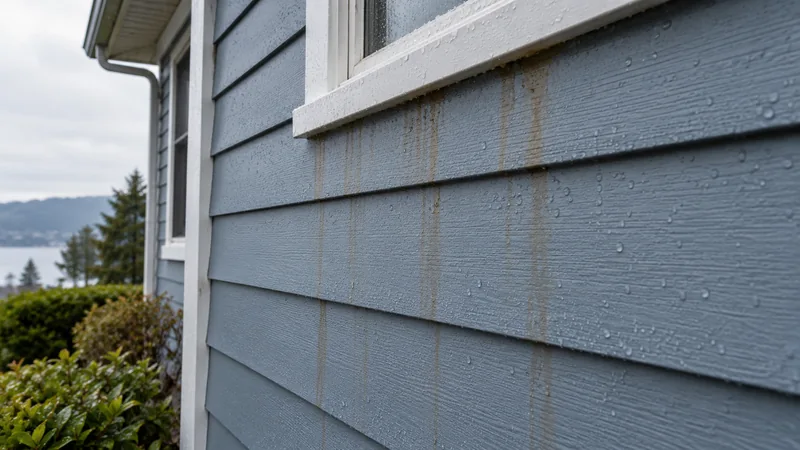
- Compare the pattern with condensation paths, ceiling stains, rusty fixtures, and recent coating dates to avoid treating every bathroom drip as the same defect.
- Try only the coating manufacturer's recommended gentle cleaning method in an inconspicuous area, then check for gloss changes after the surface has dried.
- Monitor the cleaned area through normal bathroom use and record whether material returns, whether the wall becomes wet, and whether the coating remains firmly attached.
Compare three different patterns
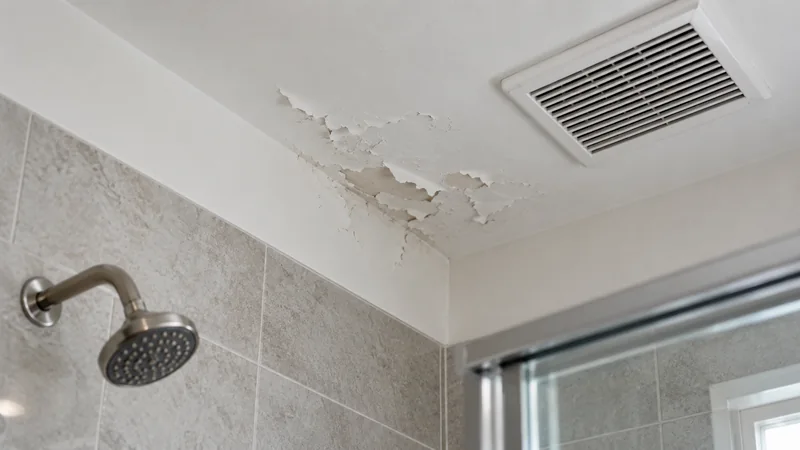
A surface residue that follows condensation paths and can be removed gently may fit leaching or dirt carried by water on the face. A stain that remains within the coating, returns from below or expands independently of shower use deserves a different investigation. Lifting paint or damaged wall material adds another question about the substrate.
Use these distinctions as an inspection checklist, not a home laboratory test. Document the date, location, film condition and response of a small cleaning sample. Avoid tasting deposits, mixing cleaners or repeatedly scrubbing to force an answer. If the surface condition remains unclear, provide those observations to the coating supplier or the person assessing the moisture issue.
Clean a small representative area first
Read the maintenance directions for the existing paint if they are available. For confirmed surfactant residue, Benjamin Moore: Surfactant Leaching recommends water or a damp cloth and cautions against painting over the stains. Begin gently and observe the result after the area dries. Protect nearby surfaces and avoid saturating vulnerable wall material.
A small test helps distinguish residue removal from damage caused by cleaning. If the wall becomes shiny, loses color or softens, stop and reconsider the method. Do not escalate automatically to abrasive pads or stronger chemicals because one pass did not remove everything. The cleaner must suit the coating, and the condition of a recently painted film may differ from that of a mature finish.
Check lower walls, areas behind stored items and surfaces outside the shower zone as well. A pattern confined to condensation paths tells a different story from marks that continue across dry, well-ventilated areas. Include those unaffected comparisons in the photographs sent for review.
Investigate recurring humidity and water entry
Look at how the bathroom clears moisture after normal use. Check whether the exhaust system operates as intended and whether condensation persists on walls or windows. A room that stays damp needs attention even if the current marks are cleanable. Cleaning the residue does not change the environment that helped it develop.
Also consider localized leaks where the pattern points to plumbing, windows or the ceiling. EPA: A Brief Guide to Mold, Moisture and Your Home emphasizes correcting water problems and drying affected surfaces before painting. If there is suspected growth, soft material or unexplained persistent dampness, obtain an appropriate assessment. Do not substitute a stain-blocking primer for investigating a condition that continues to wet the wall.
Decide whether cleaning has solved the appearance
Once the sample is dry, compare it with the adjacent finish under normal light. If the residue has gone and the paint remains sound and uniform, repainting may be unnecessary. Keep the area under observation during ordinary bathroom use to see whether new marks form.
If cleaning leaves a sheen difference, that can be a separate finish problem rather than evidence that the residue is still there. If a stain remains embedded or returns from beneath the coating, the next step may involve source correction and a suitable isolating primer. These different outcomes should not all lead to the same automatic recommendation for another coat of bathroom paint.
Repaint only after defining what needs correction
Where repainting is justified, specify the reason: damaged film, persistent stain after the cause is resolved, or an unacceptable appearance following repair. Remove residue and prepare the surface according to the chosen system. Selecting a product intended for humid environments does not eliminate its preparation and service requirements.
Plan the work around actual use of the room. Follow the manufacturer's drying, recoat and exposure instructions rather than promising that every bathroom can be used the next morning. A household that cannot avoid showering during the required interval needs a practical scheduling solution. Otherwise, the new finish may encounter the same conditions that caused the original complaint.
Keep a clear maintenance record
Record the paint product, cleaning method, date and observed result. Include photographs before and after the sample so future changes can be compared fairly. If the marks recur, note whether they appear in the same paths and under the same conditions instead of describing the entire room as stained again.
For a rental or shared building, give occupants specific instructions on exhaust use and product-compatible cleaning. Avoid alarming labels such as mold or nicotine unless an investigation supports them. A precise description of removable surface residue, recurring condensation or unresolved water staining makes the next repair decision clearer and helps prevent unnecessary repainting of an otherwise sound finish.
Questions & answers
Does surfactant leaching mean the paint is defective?
Not necessarily. Manufacturer guidance describes it as a possible response to moisture and drying conditions in water-based paint. Confirm the identification and review the application history before assigning a cause. A different problem, such as lifting or water damage, needs its own assessment.
Can I cover the drips with primer?
Do not begin by coating over removable residue. Clean and assess the surface first. A remaining embedded stain may need a suitable primer after its source is corrected, but that is a different repair from cleaning confirmed surfactant leaching on an otherwise sound finish.
Will the marks return after every shower?
They should not be treated as an inevitable feature of the room. Recurrence is a reason to review moisture control, cleaning results and the original identification. Track the pattern under normal use and consult the coating supplier if confirmed residue continues to appear despite appropriate conditions.
Sources & further reading
- Benjamin Moore: Surfactant LeachingHumidity during curing can draw water-soluble ingredients to the surface; confirmed leaching is cosmetic and should be cleaned before repainting.
- EPA: A Brief Guide to Mold, Moisture and Your HomeFix water problems and clean and dry affected surfaces before painting; damaged porous materials may need replacement.
Reader discussions
These conversations describe problems people encountered. They do not establish the cause of a defect or replace product instructions and applicable requirements.