Cleaning Left a Shiny Patch on the Wall: How to Handle Burnishing
Cleaning can change the sheen of a painted wall, leaving a shiny area even after the original mark is gone. If gentle drying and inspection show that the film itself has changed, further scrubbing may enlarge the patch. Check the coating's maintenance guidance, try a controlled finish repair if appropriate, and consider repainting to a natural boundary when the sheen cannot be blended acceptably.
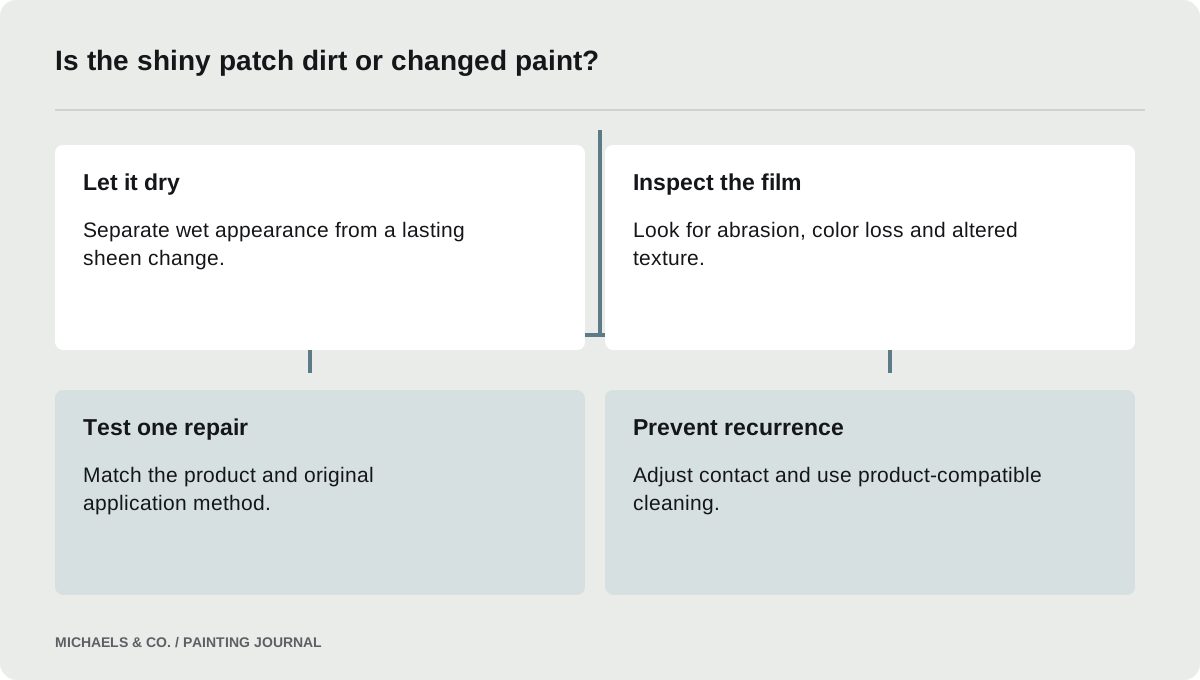
Stop cleaning long enough to inspect the result
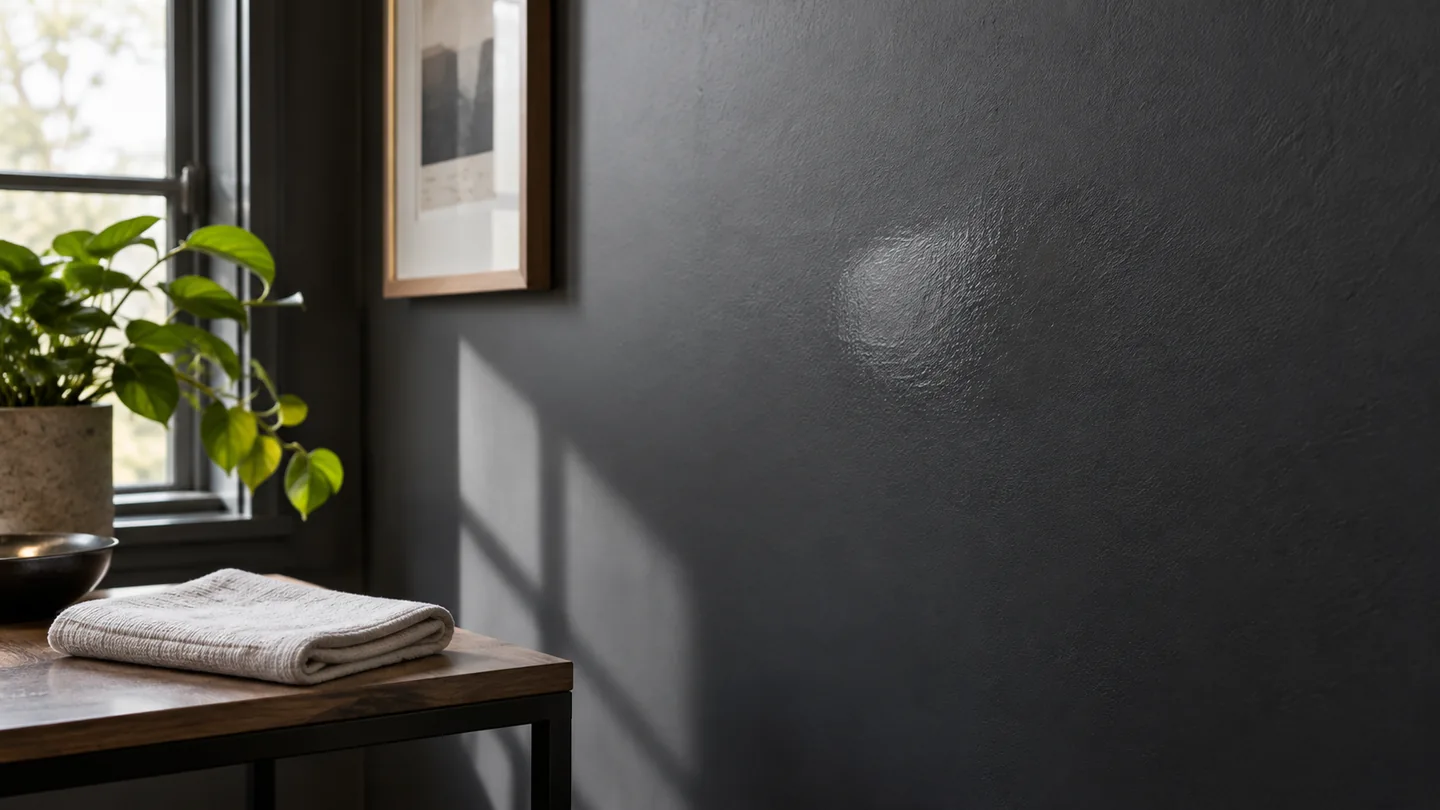
Let the cleaned area dry and view it under the room's ordinary light. A wet patch can temporarily look darker or shinier, so do not judge it while damp. Once dry, compare the area head-on and from the side. Record whether the original dirt remains or whether the new problem is reflected light.
The homeowner in this Reddit discussion described creating a shiny area while removing mirror scratches on a long wall. They wanted to avoid repainting the entire surface. That report illustrates why the visible repair goal can change during cleaning: the task is no longer just removing a mark if the cleaning process has altered the surrounding finish.
Understand the difference between residue and burnishing
Residue sits on the surface and may respond to an appropriate cleaner. Burnishing describes an unwanted increase in sheen caused by rubbing or similar contact with the paint film. Sherwin-Williams: Burnishing identifies scrubbing, abrasive cleaning and objects rubbing against walls as possible contributors.
That distinction matters because a stronger cleaning attempt may remove residue but cannot be assumed to reverse a changed film. Check whether the shiny area follows the wiping pattern or the original scuff. If a gentle approved cleaning sample does not resolve uncertainty, consult the coating supplier. Avoid treating every shine as grease or assuming that an abrasive pad will restore a uniform matte appearance.
- Identify the cleaning product, pad, pressure, and approximate number of passes used on the mark; a scrubbed finish may have changed even after dirt disappeared.
- View the area from several ordinary positions to determine whether it is genuinely lighter or darker, or primarily shinier at one reflection angle.
- Check an inconspicuous cleaning trial against the paint maker's care guidance before repeating the same cleaning method across the rest of the wall.
- Decide whether the repair objective is an invisible local correction or a uniform full wall, and approve a dry touch-up trial before widening it.
Check the coating and its readiness for cleaning
Find the paint label or project record. Product line and sheen matter because maintenance instructions vary. Also establish how recently the wall was painted. A coating that feels dry may not yet be ready for the cleaning method used on an older finish.
Use the actual product guidance for cleaning and service timing rather than a universal rule. If the wall's identity is unknown, proceed conservatively and test in an inconspicuous area. Record what cleaner, cloth or pad was used when the mark appeared. That history is more useful for diagnosis than saying the wall was simply wiped, especially if several products were tried in succession.
Inspect for abrasion, color loss and texture changes
A shiny patch can coexist with more substantial damage. Look for pigment transfer, exposed undercoat, scratches or a smooth area surrounded by roller texture. The repair needed for a change in sheen alone may differ from one involving a damaged paint film or substrate.
Do not keep rubbing to see whether the patch gets better. If the wall is losing color or softening, stop. Photograph the boundary and document the extent. Older or unknown coatings also require care if the proposed correction involves sanding. The next step should be based on the material and condition, not an escalating series of household cleaning experiments that leaves a larger area to refinish.
Try a controlled touch-up only with a clear goal
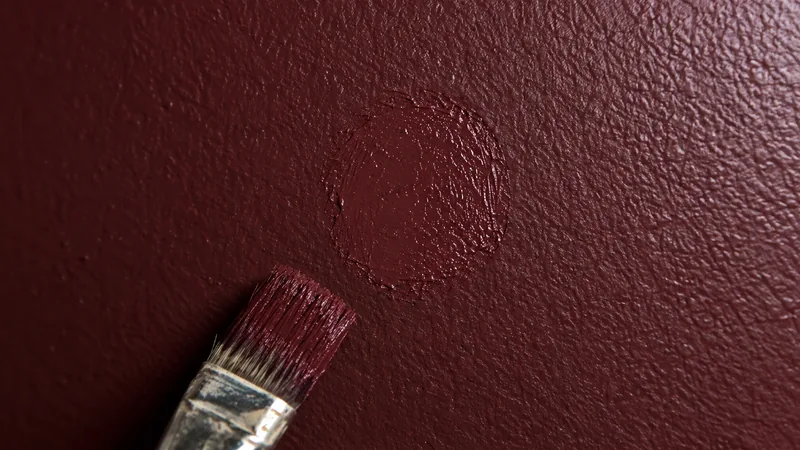
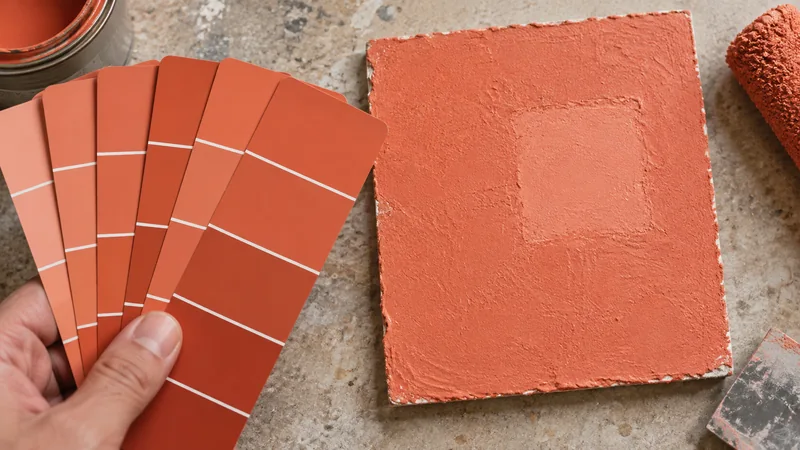
If the coating is sound and the appearance goal permits a limited repair, identify the original paint and application method. Sherwin-Williams: Obvious Repair (Touch-Up) explains that tool choice and texture differences can make a touch-up conspicuous. A brush dab on a rolled wall may replace one shiny patch with a different visible patch.
Prepare and test one small representative area using compatible materials. Allow the finish to reach the appropriate evaluation stage before deciding whether it blends. Do not promise invisibility simply because the original can is available. A trial should help choose between a limited correction and broader finishing, rather than become the first of many unplanned coats on the same spot.
Decide whether a full plane is the better repair
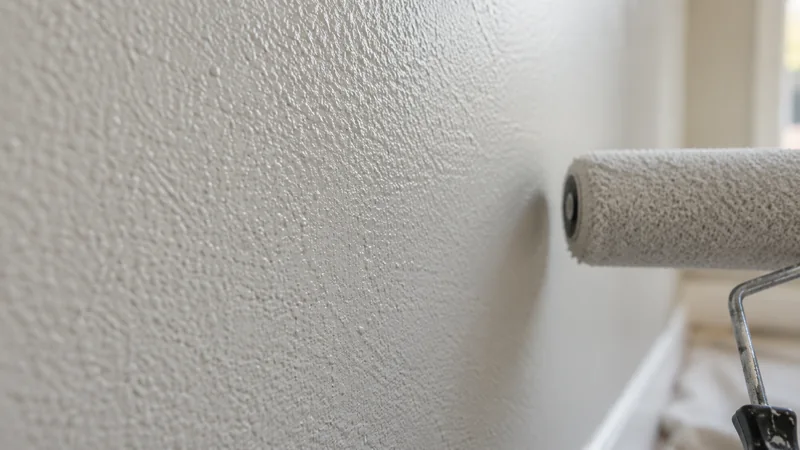
A long wall with strong side lighting can make localized sheen differences difficult to disguise. Compare the cost and appearance of continued touch-up attempts with coating the wall to natural boundaries. A large feathered rectangle in the middle may still show and can consume much of the work of a complete-wall finish.
Define whether the goal is reducing the visibility of the mark or restoring a uniform appearance. Those are different acceptance levels, and either can be reasonable when agreed. Include preparation of any raised edges created by earlier touch-ups. Repainting the whole plane is not a substitute for addressing damaged texture beneath it, but it can remove the visible boundary of a limited finish repair.
Reduce repeated contact at the same location
If furniture, a mirror or equipment repeatedly rubs the wall, the new coating may encounter the same stress. Look for a practical change in placement, spacing or protection that suits the room. Do not expect a different sheen alone to compensate for an object continuously moving against the finish.
For high-use commercial areas, discuss cleaning frequency and contact patterns before selecting the replacement coating. A durable, cleanable product should fit the actual maintenance process and desired appearance. Test that process on a sample where necessary. The useful question is not which paint is universally toughest, but which compatible finish can tolerate the planned service without an unacceptable change in appearance.
Give cleaning staff specific instructions
A maintenance handoff should identify the product, the permitted cleaning approach and the stage at which cleaning can begin. Keep a record of the sample that was accepted after repair. For a household, store those details with the paint can; for a facility, attach them to the room or finish schedule.
Encourage early reporting of marks before staff try several abrasive remedies. A small scuff may be easier to manage than the broad sheen change created by aggressive scrubbing. If a mark returns, record whether it is dirt, physical contact or a change in the coating. That distinction helps the next person choose cleaning, protection or repainting instead of treating every visible difference as a stain.
Questions & answers
Can I sand the shiny patch until it becomes matte?
Sanding can damage the film, change texture or expose another layer, so it is not a reliable cosmetic shortcut. If surface correction is part of a repaint plan, use an appropriate method and consider lead precautions for older coatings. Test the full repair rather than judging sanding alone.
Will a magic eraser restore flat paint?
An abrasive cleaning tool can change or remove part of a coating. Check the paint maintenance instructions and test cautiously before using it. If the existing mark is burnishing rather than dirt, additional abrasion may enlarge the appearance problem instead of restoring the original finish.
Should the replacement paint be glossier?
Sheen is one consideration, but durability and cleaning performance also depend on the product. Discuss the intended cleaning and appearance with the supplier and evaluate a sample. A glossier coating changes the look of the whole room and is not an automatic solution to every contact mark.
Sources & further reading
- Sherwin-Williams: BurnishingRubbing and abrasive cleaning can increase sheen; finish selection should reflect cleaning demands.
- Sherwin-Williams: Obvious Repair (Touch-Up)Application tools, batch, repair texture and environmental differences affect how a touch-up blends.
Reader discussions
These conversations describe problems people encountered. They do not establish the cause of a defect or replace product instructions and applicable requirements.