Paint Under the Eaves Keeps Blistering: Check the Roof and Gutters First
Blistering under eaves should be checked against roof, gutter and moisture history before repainting. Confirm whether old leaks were repaired, inspect the wood and identify the failed coating layer. Also compare application conditions with the actual product requirements. The repair may involve both building work and coating preparation; a new finish cannot compensate for continued wetting or unsound material beneath it.
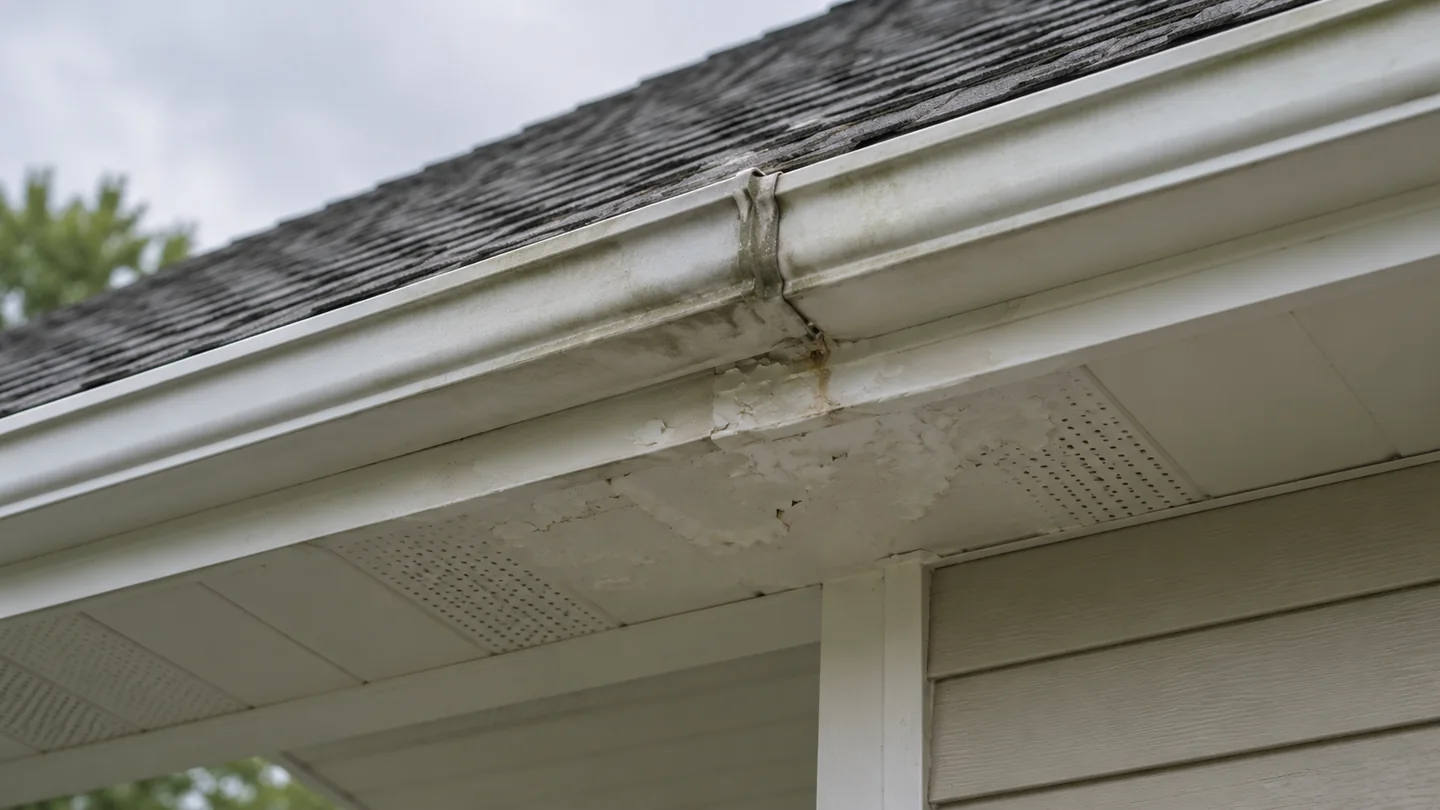
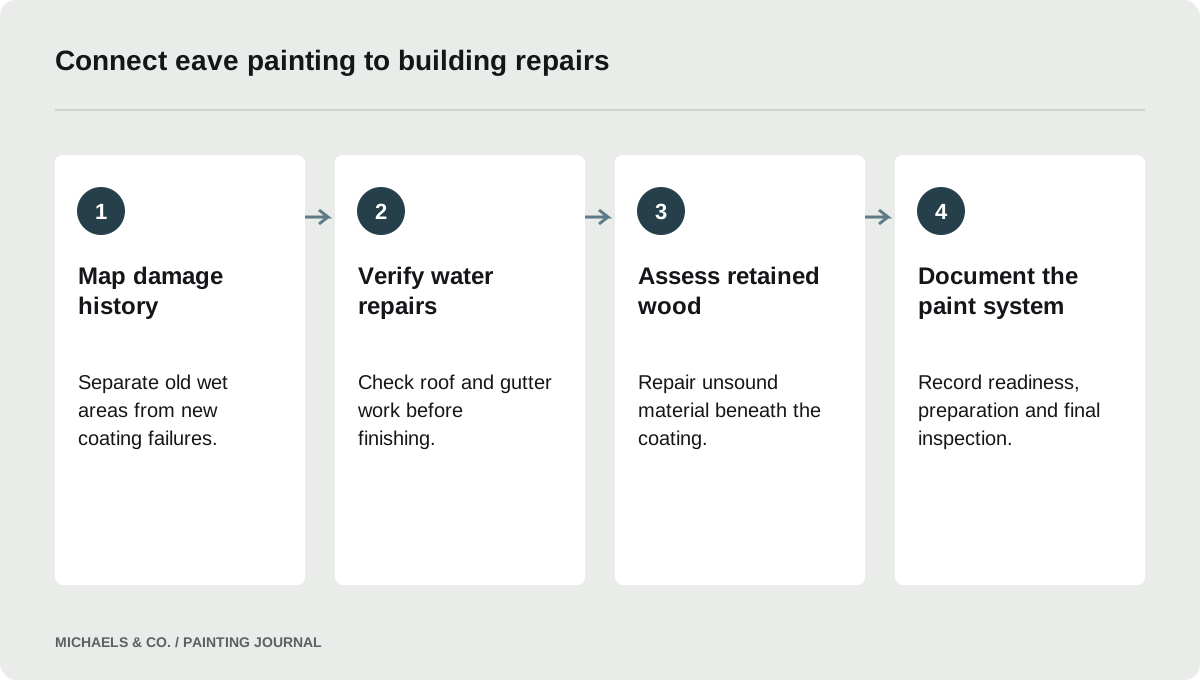
Map old damage separately from new failure
Photograph the eaves, adjacent walls and the roof or gutter details above them. Mark which areas were damaged before the latest paint job and which appeared afterward. Include the timing of rain, leaks and coating work where records are available.
In this Reddit discussion, earlier eave damage had been associated with a roof leak and clogged gutter, followed by a late-season repaint and new blistering. The owner also described changing weather. Those facts create several questions rather than one proven cause. A useful repair investigation separates recurring damage at known wet locations from new failure elsewhere, because the necessary corrections may differ.
Verify roof and gutter corrections
Ask what was repaired, when it was completed and how its performance was checked. A gutter that was cleaned once may still have a drainage or overflow problem, while a roof repair may have addressed only one entry point. Inspect accessible evidence and use an appropriate contractor for higher or concealed details.
Do not climb or remove building components simply to verify a paint complaint. The source assessment should be carried out with suitable access and expertise. Keep roof and gutter findings with the painting record. Otherwise, each trade may assume another has resolved the water issue, leaving the painter to coat material that continues to become wet during ordinary weather.
- Photograph the underside of the eaves together with the roof edge, gutter, fascia, and nearby joints so the blister pattern can be related to water paths.
- Record whether damage changes after rain, gutter overflow, or prolonged damp weather, and identify any stains or softened material that need assessment before paint removal.
- Have safe, accessible inspection findings passed to the appropriate roofing or gutter professional; an underside coating repair cannot confirm that concealed roof-edge details are sound.
- Require the repair sequence to address the water source and any damaged substrate before surface preparation, then check product-specific readiness conditions before the painter proceeds.
Inspect the wood beneath the blisters
Where coating has already opened, assess whether the wood is firm, stained, softened or deteriorated. Note board ends, joints and locations where water could remain. A sound-looking face may not reveal the full condition of a damaged detail, so uncertain areas may need closer assessment.
Sherwin-Williams: Blistering describes blistering as loss of adhesion and distinguishes failures at different layers. If the substrate itself is unsound, the repair must address it before finishing. Do not use filler and paint to hide decay without deciding whether the material can be retained. The estimate should identify who handles wood repair or replacement and how unexpected damage will be documented.
Identify the layer that released
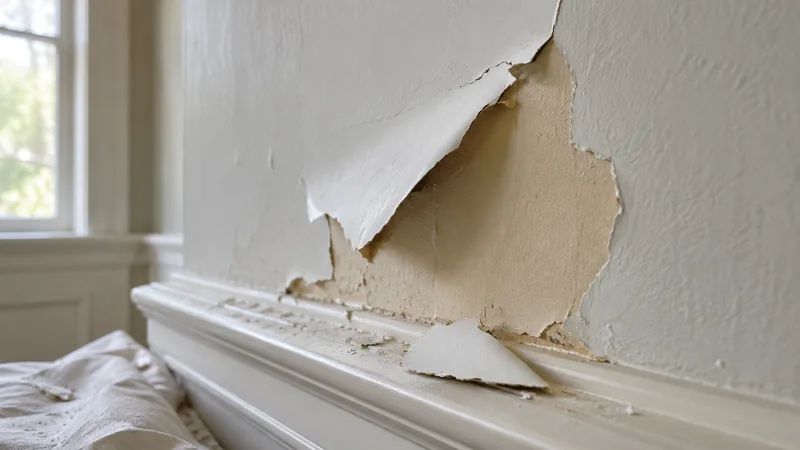
Examine a detached piece and the surface left behind. If only the new coat has lifted, investigate its bond to the old finish and the application history. If multiple layers release together, a deeper weak interface may need removal. Wood fibers on the back of the film add a substrate question.
Record more than one location if the pattern differs across the building. The underside of a sheltered eave may have a different contamination and coating history from a sun-exposed fascia. A uniform recommendation to prime everything with the same product should explain how those conditions will be prepared. The goal is a coherent system on sound material, not simply a shared color at completion.
Review weather and drying evidence
Collect the exact primer and finish information, application dates and relevant weather conditions. Compare both application and early drying exposure with the product instructions. A warm afternoon does not establish suitable conditions overnight, and a fixed number of hours after rain does not describe how dry the wood actually was.
Avoid universal temperature, moisture or recoat rules borrowed from another coating. Ask how substrate readiness was assessed after washing or wet weather. The answer should connect the material and conditions to the selected system. If the record is incomplete, state that limitation rather than converting a weather concern into a definitive finding of product failure or contractor fault.
Define preparation after the building is ready
Once water entry and material condition are addressed, remove unsound coating to a suitable boundary. Establish lead precautions for older or unknown paint before disturbance. Clean and prepare retained surfaces according to the selected system, including sheltered areas where contamination may differ from the main siding.
EPA: A Brief Guide to Mold, Moisture and Your Home supports fixing water problems and cleaning and drying affected surfaces before painting. Where suspected growth or contaminated material is involved, obtain the appropriate assessment and cleanup rather than coating over it. The painting scope should begin at a defined handoff condition so the finish crew knows which building repairs and drying checks have already been completed.
Test the proposed repair on representative exposure
Choose a sample that reflects the failed area and retained coating, rather than only a convenient dry section. Apply the complete sequence and evaluate it at the appropriate stage. Record the products, preparation and conditions so the trial can inform the wider work.
A sample cannot replace a roof repair or demonstrate performance through every future storm. It can help identify obvious compatibility or appearance problems before recoating the eaves. If it fails, examine the released layer and revisit the cause. Do not keep adding primers over an unsuccessful sample without explaining what changed in the underlying condition or preparation.
Close out the coating and maintenance tasks together
Inspect the finish under ordinary conditions and document repaired boards, treated areas and any remaining exclusions. Decide whether the appearance requires coating individual details or a larger architectural section. A structurally appropriate patch may still need broader finishing to avoid a visible color or sheen break.
Keep the roof, gutter, wood and coating records together. During maintenance, watch the original wet locations and report recurrence with photographs before scraping it away. New blistering at a repaired leak point deserves a different review from a mechanical chip elsewhere. That record helps the next contractor act on evidence instead of starting another cycle of exterior repainting with unresolved drainage assumptions.
Questions & answers
Can paint under an eave fail even though it is sheltered?
Yes. Sheltering does not rule out leaks, overflow, condensation, contamination or weak old coating. Compare the location with the building details and inspect the failed layers. The underside of an eave should be assessed on its actual conditions rather than assumed dry and protected.
How long after rain should eaves be painted?
There is no universal interval that establishes substrate readiness for every material and coating. Follow the selected system requirements and assess the actual condition after wetting. Weather, exposure and the depth of moisture affect the decision, so elapsed hours alone are incomplete.
Should the painter fix the roof leak as part of the repaint?
The responsibilities should be defined in the scope and matched to the appropriate trade. Painting may depend on roof or gutter repairs performed separately. Record that handoff and confirm readiness before coating, rather than assuming the paint contract automatically includes every building repair.
Sources & further reading
- Sherwin-Williams: BlisteringBlistering has multiple possible causes; the failed layer and moisture conditions guide repair.
- EPA: A Brief Guide to Mold, Moisture and Your HomeFix water problems and clean and dry affected surfaces before painting; damaged porous materials may need replacement.
Reader discussions
These conversations describe problems people encountered. They do not establish the cause of a defect or replace product instructions and applicable requirements.