Preparing a New Roller Cover Before the First Coat
Inspect a new roller cover, remove loose fibers using the maker's recommended method and make sure it fits a straight, freely turning frame. Condition it only as the cover and coating instructions permit, then work paint evenly through the sleeve. A cover should enter the wall with a normal working load, not dripping preparation water or a dry center that encourages heavy pressure.
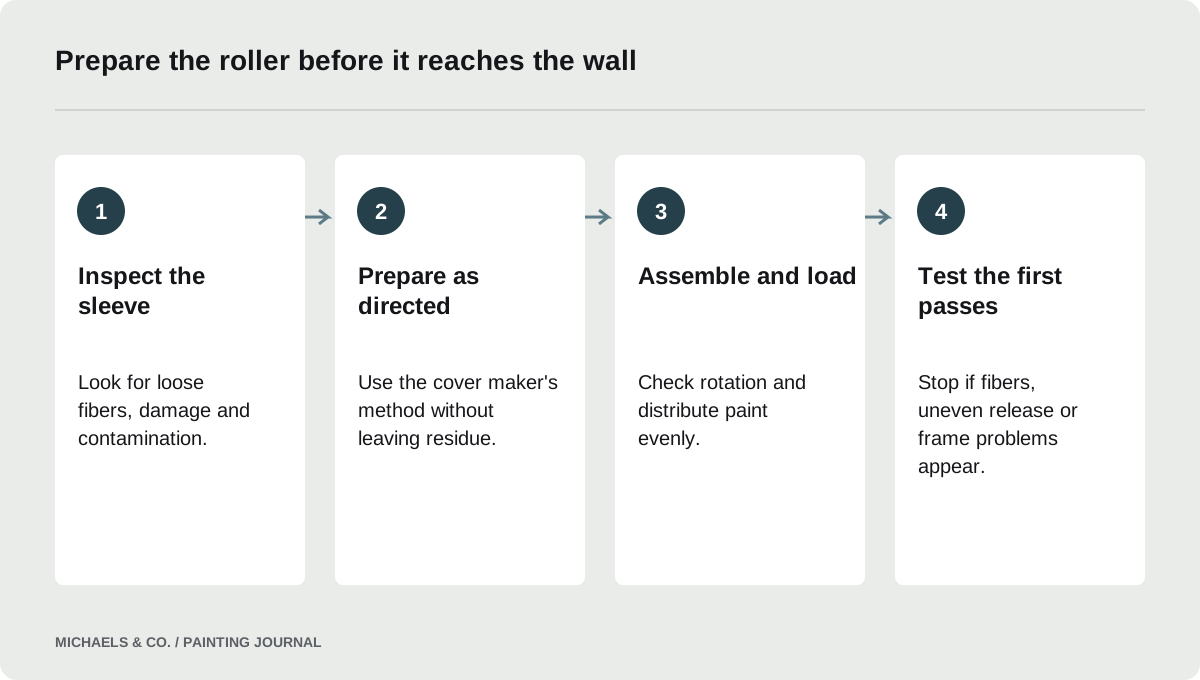
Treat a new cover as a tool that needs inspection
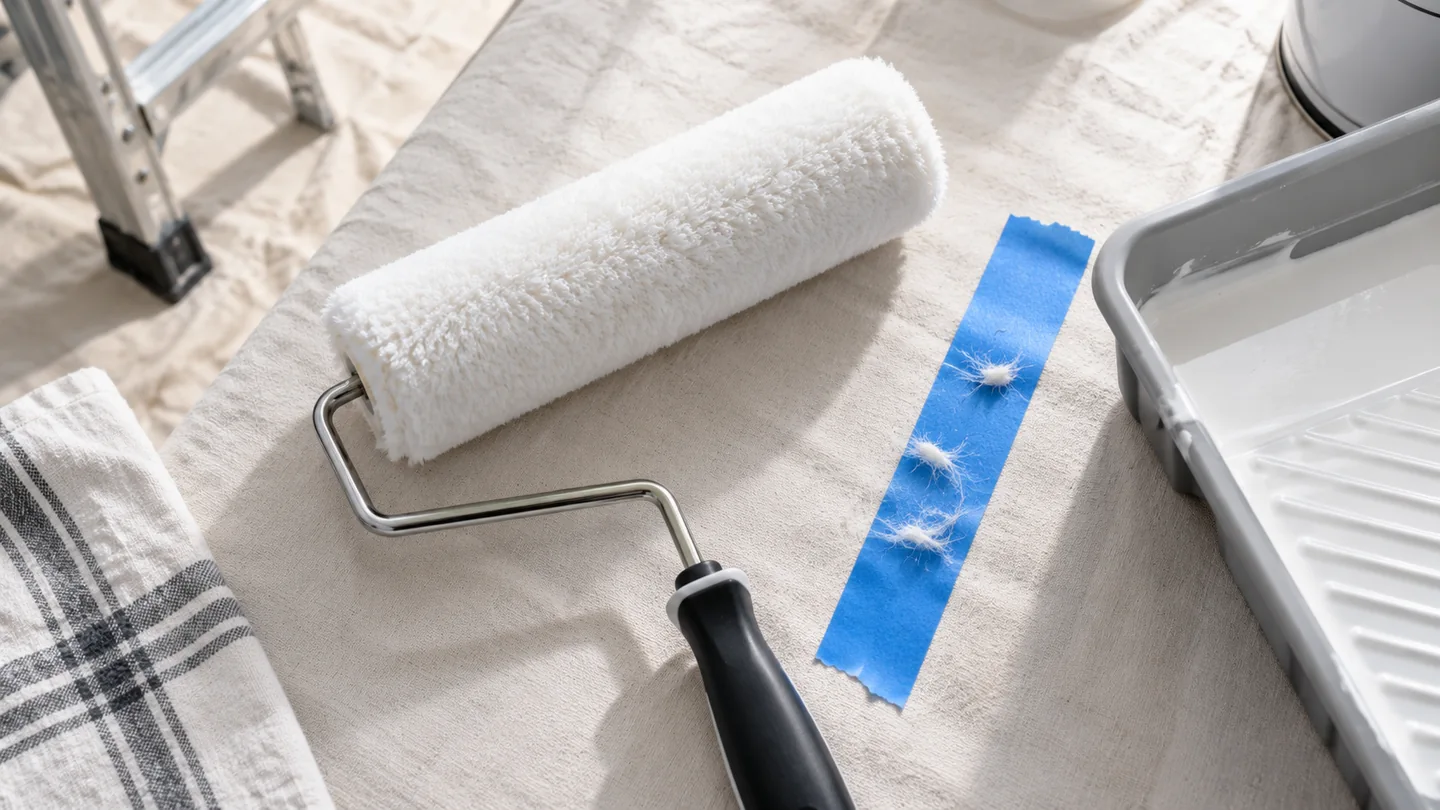
New packaging does not guarantee a cover is ready to put against a finished wall. Check the sleeve for damaged ends, visible loose fibers, flattened areas and contamination from storage. Look inside the core as well. A distorted core may rotate poorly or shift on the frame, making it difficult to maintain an even pass.
In a discussion about a roller shedding after lint removal, the painter had already attempted to prepare the cover but still found fibers entering the finish. The report does not prove a particular brand or fabric was faulty; it shows why preparation must include an actual performance check. If loose material keeps coming away, stop using that sleeve on the final surface. The time saved by continuing rarely compensates for picking debris from wet paint or sanding a cured coat later. Keep the receipt and packaging until the cover has passed its first working test.
Match the sleeve to the paint and surface first
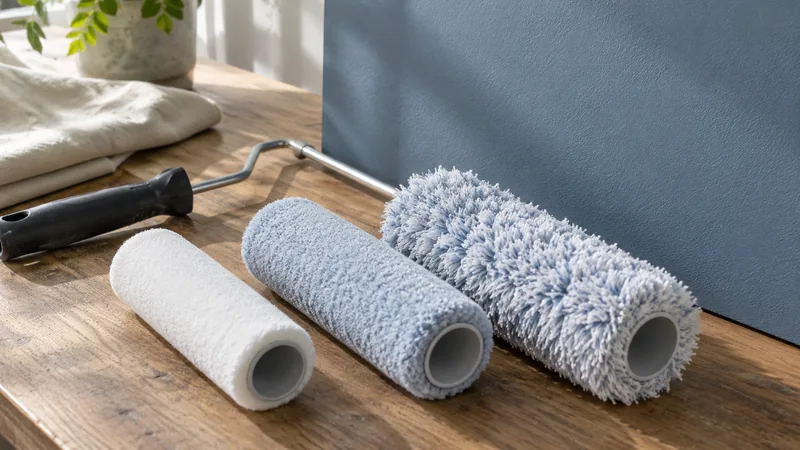
Removing lint cannot turn the wrong cover into the right applicator. Confirm that the cover material and nap suit the selected coating and substrate. Purdy's guide to choosing a roller cover explains the relationship between fabric, nap and the surface being painted. A smooth sealed wall and a rough masonry surface do not ask the fibers to perform the same job.
Read the coating's current application directions too. A product may specify a range that differs from a general cover label. Choose the cover within both sets of instructions before spending time conditioning it. If an old sleeve was left from another project, consider its previous paint, storage condition and cleanliness. A clean-looking sleeve can contain hardened particles deep in the fibers. For a critical final coat, uncertainty about an old tool is a separate issue from preparing a genuinely new one.
Remove loose fibers without damaging the cover
Use the manufacturer's preparation advice rather than an aggressive improvised treatment. Light removal of loose material is different from pulling firmly attached fibers out of the sleeve. If using an approved lint-removal method, inspect the cover afterward for adhesive residue, torn fibers or a changed surface. The sleeve should remain uniform around its circumference.
Do this away from open paint and the wall being finished. Loose fibers that fall into a tray defeat the purpose. Keep packaging debris, tape scraps and dust out of the work area. A quick inspection under good light can reveal fuzz at the ends that was missed when the cover was still wrapped. If the manufacturer's directions call for rinsing or another conditioning step, follow that instruction for the actual cover and coating. Do not substitute solvent or water simply because another painter used it successfully with a different product.
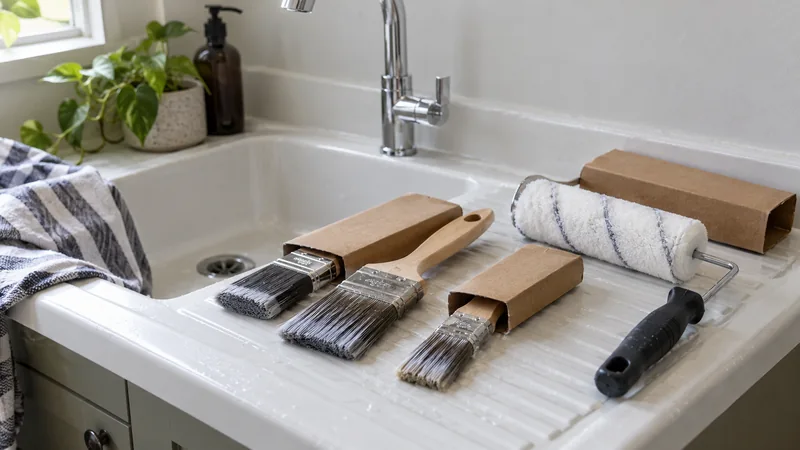
For a concrete example, Purdy's own sleeve instructions recommend washing a new cover in water and spinning out excess before first use. Check that this applies to your cover and coating; the sleeve should not carry dripping water into the paint.
Avoid carrying preparation liquid into the paint
Some preparation methods involve dampening a cover, but that is not permission to dilute the coating unpredictably. Excess liquid trapped in a sleeve can enter the first tray load and affect the earliest passes differently from the rest of the wall. The problem may be most obvious with a small quantity of paint or a finish that has strict reduction limits.
Follow the approved method and remove excess liquid as directed before loading. The cover should not drip onto the tray or leave a watery trail on a test surface. Do not assume that a water-cleanup coating allows unlimited water during application; cleanup instructions and thinning permission serve different purposes. If neither the cover nor coating instructions call for conditioning, do not invent a wetting procedure. A controlled start uses known materials and a consistent paint load, which makes any later adjustment easier to evaluate.
Check the frame, tray and working reach
A good sleeve on a poor frame can feel like a bad roller. Fit the sleeve fully, then rotate it by hand to check for binding, wobble or sideways movement. Inspect the frame for dried paint that could fall into the tray. A bent frame can cause uneven contact and tempt you to compensate with extra pressure at one end.
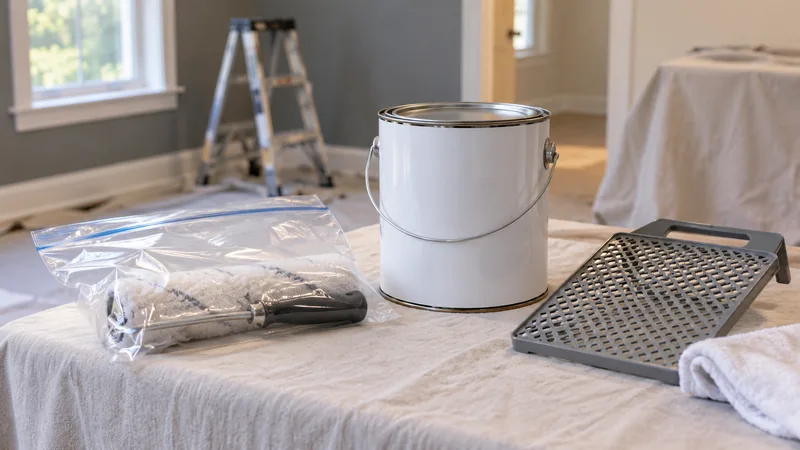
Purdy's roller-system guidance is useful for treating the cover, frame and extension as one working assembly. Check that the extension connection is secure and that your chosen tray or bucket grid accommodates the sleeve's full width. Stage the paint where reloading is comfortable and stable. If reaching the upper wall forces a steep, awkward angle, adjust the extension or work position before painting. The first coat should test the chosen application method, not your ability to manage a slipping sleeve or unstable tray.
Load evenly and make a meaningful first test
Work paint into the cover using the tray or grid without submerging hardware unnecessarily. Rotate and distribute the load until the sleeve carries paint around its working surface. A cover with a wet outer edge and dry center will not behave consistently. Avoid squeezing it nearly dry, which encourages pressing hard on the wall.
Use a prepared sample area or a planned starting location to inspect release, rotation and debris before committing to a broad section. Roll enough passes to see how the sleeve behaves as its load changes. Pause to look at the tray as well as the surface. If fibers or hardened particles appear, find their source before continuing.
- Cover turns freely and stays centered.
- Paint is distributed across its full width.
- No loose fibers or preparation residue enter the coating.
- Normal pressure produces continuous coverage.
- Edges do not leave unexplained heavy tracks.
Keep the clean start clean throughout the room
Preparation has little value if the cover later rests on a dusty floor or picks up debris from the tray rim. Give the roller a designated clean resting place and cover the paint during interruptions. Do not scrape dried skin from the tray edge back into the liquid. Replace or clean equipment when contamination appears rather than repeatedly passing it through the wall coating.
If the cover starts shedding during use, stop and check whether the sleeve is damaged, the coating has begun drying into it or foreign material entered from elsewhere. Do not assume every particle is new-cover lint. Separate the suspect roller from the clean paint supply before investigating. Record the cover and paint combination if the result is successful, particularly when a second phase of work will follow. Repeatable preparation is useful because it reduces variables; it cannot guarantee that every sleeve from every batch will perform identically.
Questions & answers
Do I need to wash every new roller before painting?
Follow the cover maker's preparation directions and the coating's application limits. Washing is not a universal requirement for every material or coating. If an approved method includes rinsing, remove excess liquid properly so it does not become uncontrolled dilution in the first paint load.
Why does a roller still shed after lint removal?
Possible explanations include a defective or damaged cover, fibers released during aggressive preparation, or contamination mistaken for lint. Inspect the sleeve and tray separately. If the cover continues releasing fibers during a controlled test, replace it before using it across a final coat.
Can I remove fibers from wet paint immediately?
A few isolated particles may be removable while the coating remains workable, but repeated picking and rolling can disturb the film. First stop the source of contamination. Follow the coating's repair guidance if the area has started setting rather than repeatedly touching a partially dried surface.
Sources & further reading
- Purdy: Painting Tool FAQsClean immediately with the appropriate cleaner; remove residual coating and store brushes without bending their tips.
- Purdy: How to Choose a Paint Roller CoverSelect cover fabric, nap and width for the coating and substrate; short nap is not a promise of zero texture.
- Purdy: Tool Preparation and Care FAQsSpecific new-sleeve guidance calls for washing in water and removing excess by spinning before use.
Reader discussions
These conversations describe problems people encountered. They do not establish the cause of a defect or replace product instructions and applicable requirements.