Repainting Satin Walls in Eggshell or Matte Without Uneven Shine
You can change a sound satin wall to eggshell or matte with a compatible coating system, but plan more than a sheen swap. Clean the wall, assess adhesion and gloss, prepare it as the new product requires and prime where the substrate or system calls for it. Apply complete coats at the specified coverage. One thin coat or isolated touchups may leave variations even when the color appears covered.
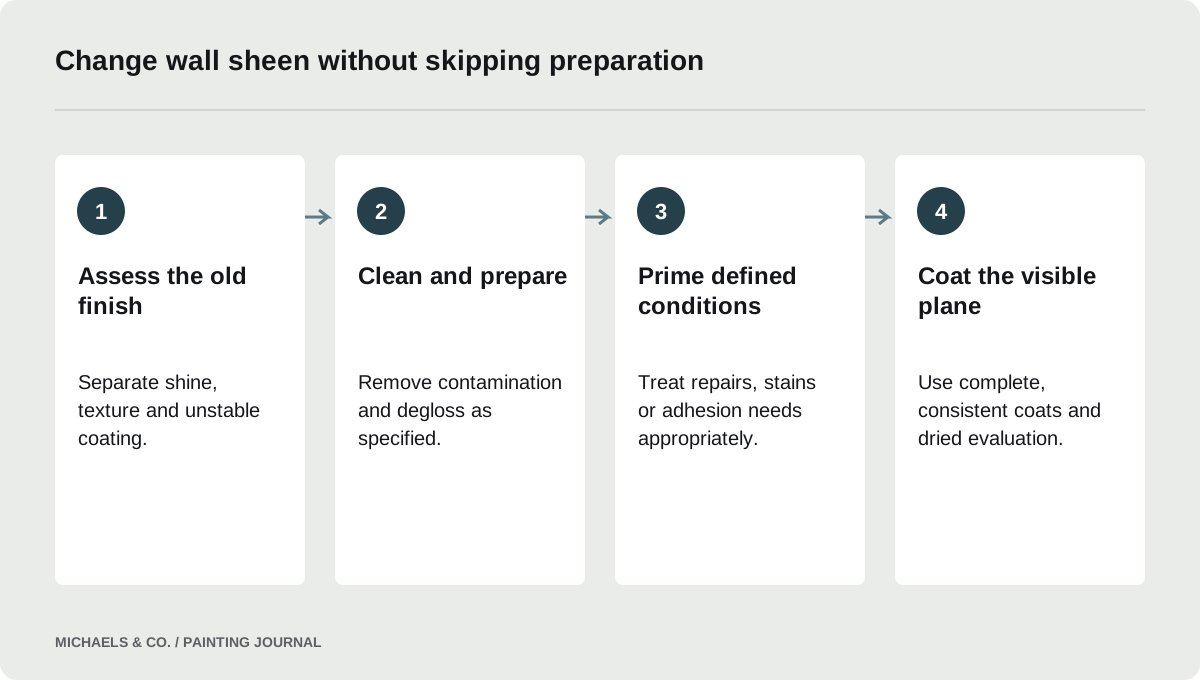
Decide whether the problem is reflection or texture
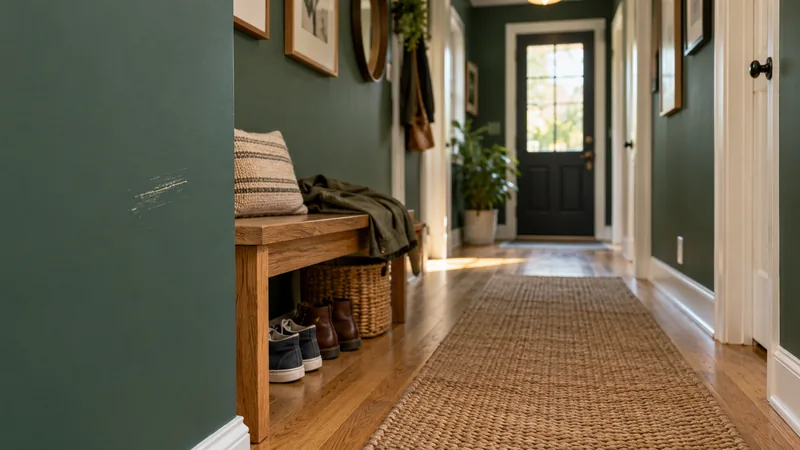
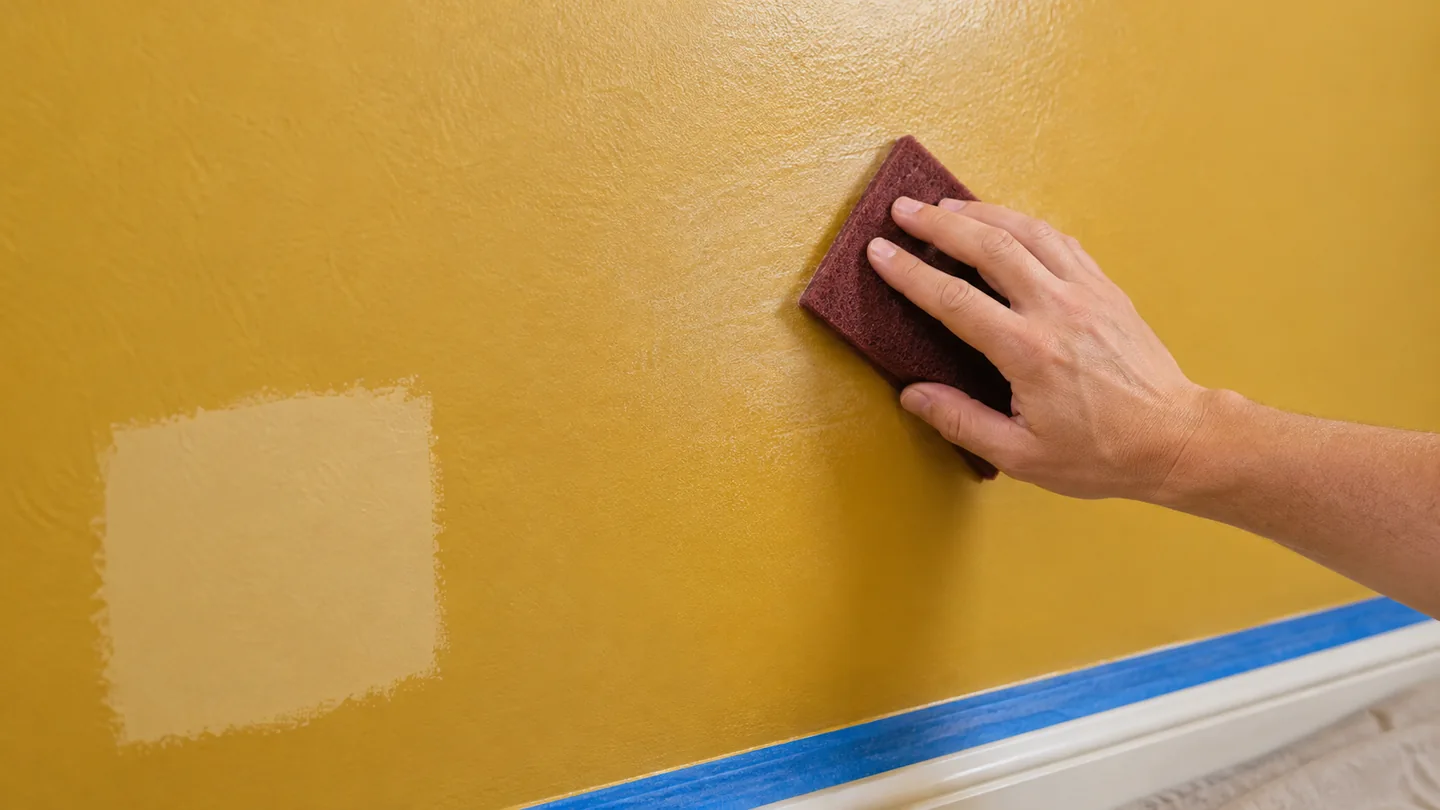
A satin wall may feel too shiny because of its finish, strong side lighting or the way existing texture reflects light. Changing to eggshell or matte can reduce reflectance, but it will not remove raised roller stipple, joint ridges or damaged repairs. Inspect the wall in normal room lighting before deciding how much preparation the project needs.
A Reddit question about painting eggshell over satin asks whether one coat and sanding will solve an unwanted satin appearance. The useful response separates the two jobs: prepare a suitable base and apply a complete new finish. If the surface itself is acceptable and only the reflection is unwanted, the scope may be a conventional compatible repaint. If the wall has physical irregularities, define those repairs separately. This prevents sanding the entire room aggressively when the actual goal is simply a lower-sheen product over sound paint.
Identify the existing coating and its condition
Find the old product information if available, including when it was applied. Fresh satin paint may still be developing properties even if it feels dry. A long-established wall may have cleaning residue, hand oils or weak older layers beneath the visible finish. The preparation decision depends on those conditions, not solely on the word satin.
Check for loose edges, soft areas and obvious contamination without creating unnecessary damage. If the coating is unstable, stop treating the project as a straightforward sheen change. The new layer depends on the soundness of what remains below it. For old or unknown coatings, review EPA's lead-safe renovation guidance before sanding or scraping. A lower-sheen repaint does not justify uncontrolled dust generation. Use an appropriate assessment and preparation method for the building and coating history, especially when the work will disturb substantial areas rather than a small known repair.
Clean first, then decide how to reduce gloss
Remove dirt, grease and cleaner residue using a method compatible with the existing finish. Let the wall dry before evaluating its sheen and surface condition. Abrading a dirty wall can spread contamination and make it harder to know whether the base is truly ready. Cleaning and deglossing are separate steps.
Follow the selected paint or primer system's gloss-preparation instructions. Do not assume every satin wall needs to be stripped to bare drywall or sanded with a coarse power tool. The purpose of a required scuff is usually to prepare the retained sound coating, not to reshape the wall. If abrasive preparation is needed, choose the method and grit for that coating and inspect for scratches before continuing. Deep scratches introduce another repair task that lower-sheen paint may not conceal. Remove preparation dust appropriately before any primer or finish is applied.
Use primer where it performs a defined function
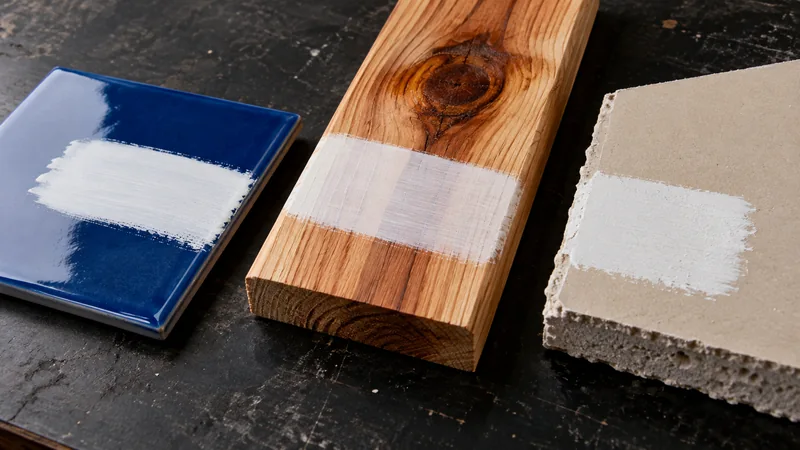
Primer may be needed for porous repairs, exposed substrate, staining or adhesion over a difficult retained finish. It is not automatically required merely because the new sheen is lower, and it should not be omitted when the selected system calls for it. Map the conditions and choose the primer accordingly.
As one example, the Stix SXA-110 technical sheet requires preparation and deglossing of challenging glossy surfaces even though it is a bonding primer. That illustrates why a primer label is not permission to coat an unprepared satin wall. If the wall contains many repairs, decide whether a unified primer treatment is needed for the planned finish. If only a small bare area needs sealing, use a product compatible with both the repair and surrounding system. The goal is a consistent suitable base, not adding a layer without knowing what problem it is supposed to solve.
Choose the lower sheen by product, not name alone
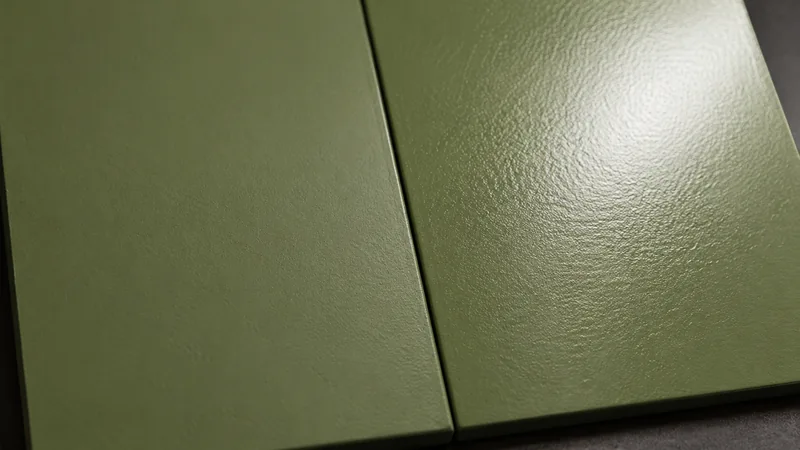
Eggshell generally gives a quieter reflection than satin, while matte can reduce it further, but exact appearance varies across products. Benjamin Moore's sheen guide provides a useful overview of those categories. Compare the actual line and finish you intend to use, especially when washability matters.
Paint a sample on a representative prepared area and inspect it from normal viewing positions. A small color card or a sample on smooth poster board cannot fully represent an existing textured wall. Use the intended coat count and let it dry appropriately. If the new product is still more reflective than expected, resolve that before coating the whole room. Keep the color choice constant during a sheen comparison when possible so you can see which change is responsible for the visual difference. Selecting a suitable low-sheen product is more reliable than assuming every can labeled matte will look identical.
Apply a complete finish rather than chasing shiny spots
A thin coat may hide color while leaving inconsistent film build. Isolated additional passes can then create another pattern across the wall. Follow the product's coverage and coat requirements, use a suitable applicator and complete coherent sections with a consistent method. Avoid repeatedly reworking areas that have begun setting.
Sherwin-Williams' discussion of brush and roller marks identifies overworking and unsuitable application choices as factors that affect leveling. The practical response is to establish the method on the sample, then repeat it across the wall. Do not judge every wet difference as a permanent sheen problem. Wait until the coating reaches the appropriate dried evaluation stage. If another coat is needed, apply it as a planned coat over the proper area after the required interval, rather than treating each reflective patch as an invitation for a quick wet correction.
Use a clear before-and-after inspection plan
Document what you expect the repaint to change. A lower reflection level, consistent color and even application texture are reasonable sample-based goals. Removing historic wall waviness is a separate scope. This distinction helps both homeowners and contractors evaluate the finished work fairly.
- Existing coating is sound and identified as far as practical.
- Cleaning is complete before abrasive preparation.
- Gloss preparation follows the selected system.
- Bare repairs and special conditions receive appropriate primer.
- A dried sample confirms the desired lower sheen.
- Complete coats use consistent tools and coverage.
- Final inspection uses the room's intended lighting.
Keep the new product and application record for maintenance. If a remaining variation is visible, determine whether it is a substrate shape, texture difference or coating issue before repainting again. A well-planned sheen change succeeds by addressing the existing surface and the new finish together, rather than expecting matte paint to erase every earlier imperfection.
Questions & answers
Can I put eggshell directly over satin without primer?
Possibly, if the retained coating is sound and the new product approves that prepared surface. Cleaning and any required deglossing still matter. Bare repairs, stains or difficult adhesion conditions can require primer even when the surrounding painted wall does not.
Will one coat of matte make a satin wall completely flat-looking?
Not necessarily. Use the selected product's coat and coverage requirements and judge a dried sample. Color hiding does not prove uniform film build or the desired reflection. Existing texture and lighting also remain visible to some degree after the sheen change.
Should I use coarse sandpaper to remove all the satin shine?
Do not default to aggressive sanding. It can create deep scratches and unnecessary dust while removing sound coating. Assess old-paint hazards first, then use the preparation method specified for the retained finish and new system. The goal is a suitable base, not automatically bare drywall.
Sources & further reading
- Benjamin Moore: How to Choose a Paint FinishSheen changes reflectivity, visibility of defects and suitability for cleaning; select within the actual product family.
- Sherwin-Williams: Brush or Roller MarksWrong applicators, overworking, premature reworking and unsuitable film build can prevent leveling.
- INSL-X Stix SXA-110 Technical Data SheetClean, sound surfaces and compatible topcoats remain required; degloss challenging glossy surfaces and test questionable substrates.
- EPA: Lead-Safe Renovations for DIYersAssess possible lead before disturbing old paint and use appropriate containment and dust controls.
Reader discussions
These conversations describe problems people encountered. They do not establish the cause of a defect or replace product instructions and applicable requirements.