Sanding Before Painting: Grit Selection, Scratch Control and Dust Removal
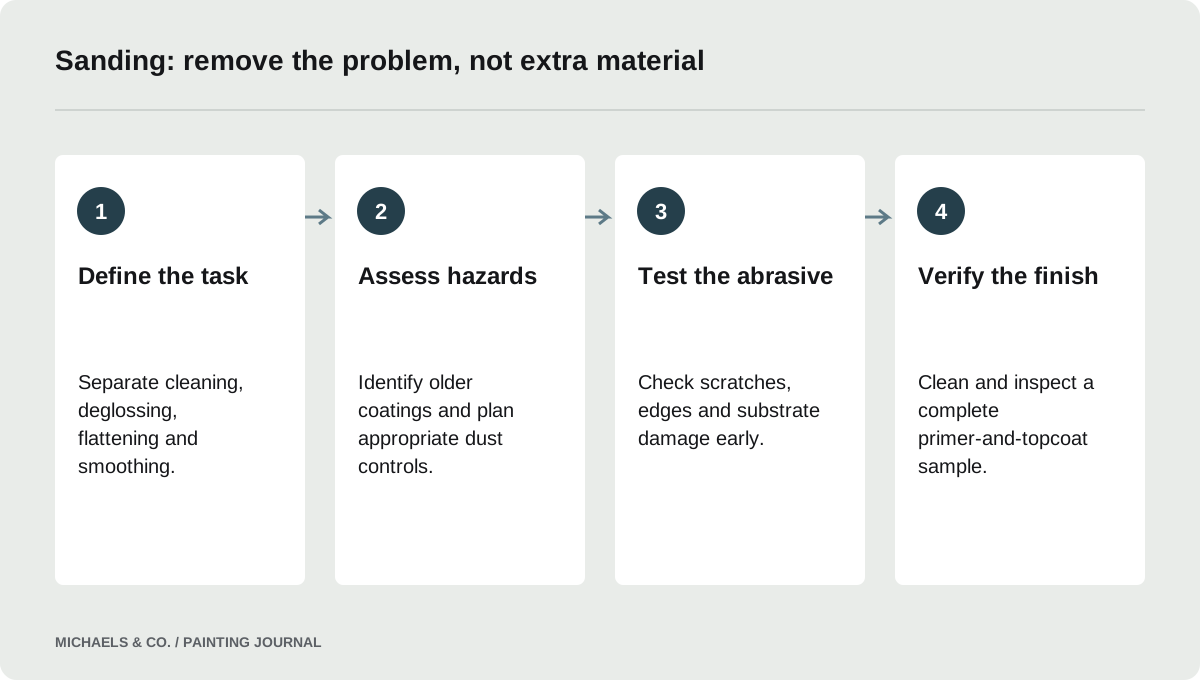
Choose sanding grit for the material and the task, not simply because the next step is painting. Cleaning, removing a ridge, dulling a sound glossy coating and smoothing between coats require different decisions. Start with the coating and substrate instructions, test a limited area and inspect the scratch pattern before continuing. Assess older coatings and plan dust controls before sanding; a smooth-looking wall is not worth unnecessary substrate damage or uncontrolled contamination.
Decide what sanding is supposed to accomplish
Write down the defect or preparation requirement before picking up a machine. Are you flattening a raised patch, removing debris from a cured coat, preparing gloss for adhesion or trying to remove a failing layer? If the problem is grease or an active leak, sanding does not address the primary cause.
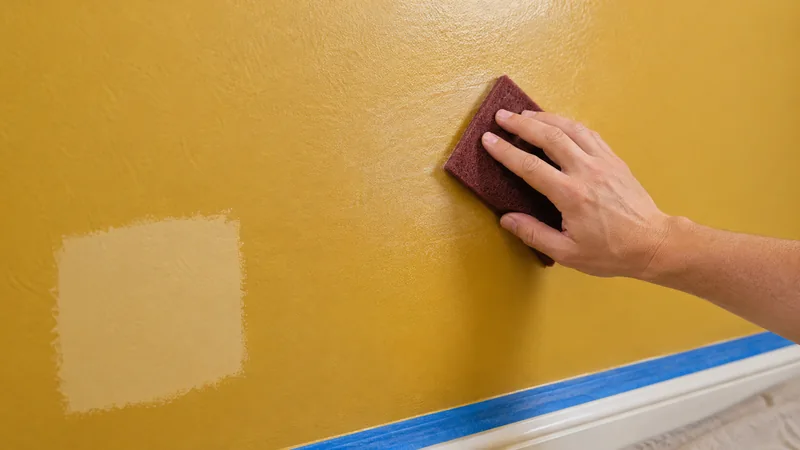
In a Reddit question about painting eggshell over satin, the owner had already used 80-grit orbital sanding. That detail matters because an aggressive abrasive can create scratches that become the next visible defect. Changing sheen does not automatically require substantial material removal. Identify the approved preparation for the selected repaint system before assuming that more sanding will make the new coating perform better.
Assess coating age and dust hazards first
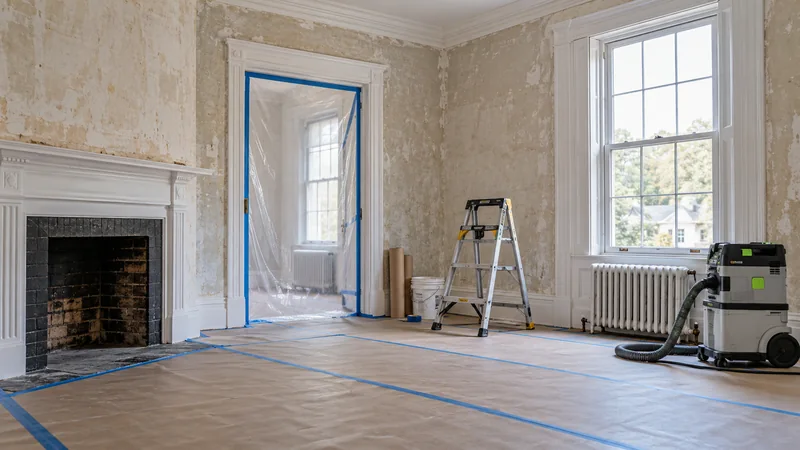
Before disturbing an old or unidentified coating, establish what precautions apply. A new finish color does not tell you the age or composition of the layers below. Older buildings can require a different work plan from a new uncoated trim sample. Do not begin extensive abrasion and decide how to contain the dust afterward.
The EPA's lead-safe renovation information is a starting point for homeowners considering work on older painted surfaces. Massachusetts requirements and contractor responsibilities should be checked for the actual project. Where assessment identifies a regulated or hazardous material, use the appropriate qualified help and work practices. This grit-selection guide is not a substitute for a lead-safe renovation plan or a worker exposure assessment.
Clean first so the abrasive does the intended work
Remove relevant contamination using a method compatible with the surface and coating system. Sanding grease, wax or cleaner residue can spread it into a larger area and load the abrasive. Follow the cleaning product's residue-removal and drying directions before assessing whether the remaining surface needs deglossing.
Inspect the cleaned surface in useful light. Some apparent roughness may be removable dirt, while some dull patches may be wear rather than a need to strip the paint. If the old film is loose, determine the extent of failure and the appropriate repair instead of simply polishing its face. A sound base is the goal. Sanding a weak layer until it looks smooth does not make it a reliable foundation for another finish.
Use grit numbers as part of a system, not a universal recipe
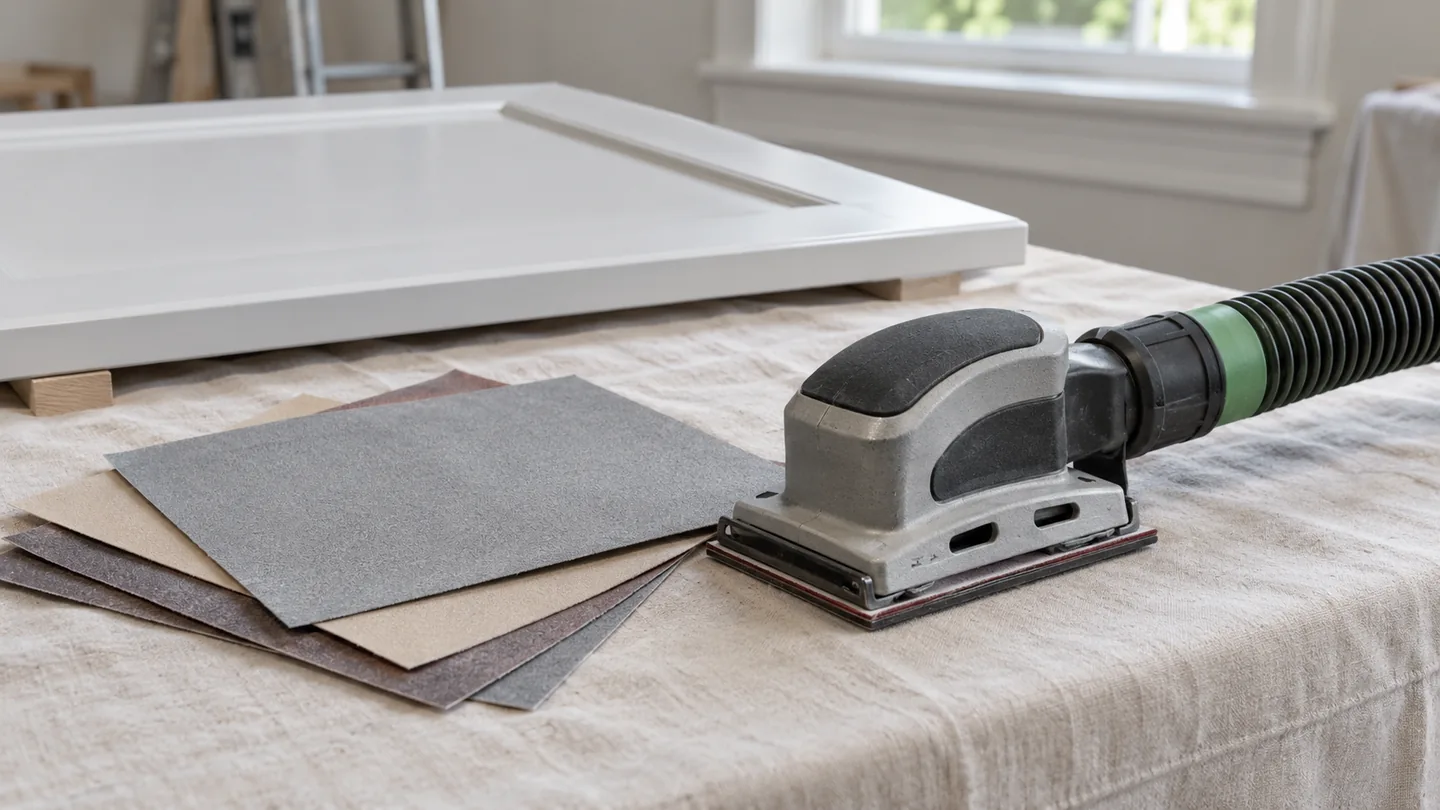
Within a given abrasive grading system, lower numbers generally indicate a coarser cut and higher numbers a finer one. Tool motion, pressure, abrasive type and the surface also affect the result. The same nominal grit can behave differently in a powered orbital sander and a supported hand-sanding operation.
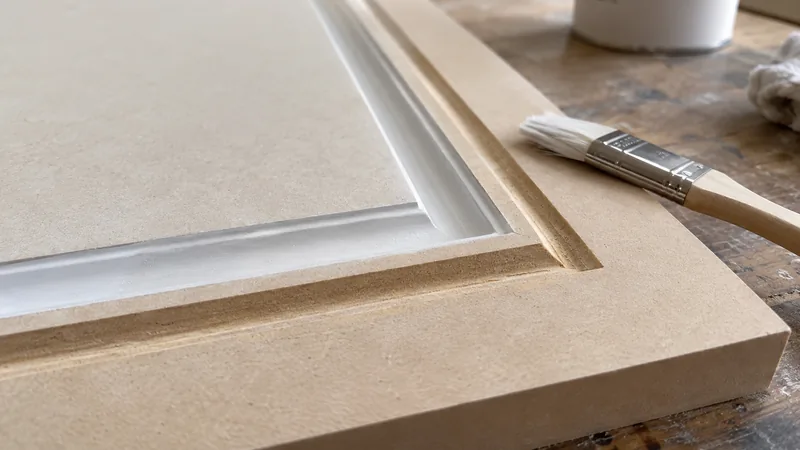
A specific example is the ADVANCE Satin 792 cabinetry guidance, which calls for roughening before priming with 220 grit or coarser. That is a product-and-task instruction, not permission to use the coarsest available abrasive on every wall. For the actual job, select an appropriate permitted abrasive and test whether it achieves the required preparation without creating damage that the next stage cannot conceal.
Support the abrasive to preserve the surface shape
A flat support helps keep a flat repair from developing finger-shaped hollows, while shaped trim may need a method that follows its profile without rounding the edges. Match the support to the geometry and inspect frequently. A machine can remove material quickly at an edge before the center appears adequately prepared.
| Task | What to avoid |
|---|---|
| Dulling sound gloss | Unnecessary removal through stable coating |
| Flattening a patch | Hollows and torn surrounding drywall paper |
| Smoothing a cured finish | Deep scratches or soft-film smearing |
| Preparing a routed profile | Rounded corners and altered groove shape |
Check the work after a few controlled passes. The time saved by aggressive removal can disappear when a damaged face requires new patching and priming.
Remove the previous scratch pattern before finishing
If a coarse abrasive is necessary for an approved removal task, inspect the scratches it leaves before moving to the finish stage. A finer abrasive must actually remove or adequately refine those marks; briefly passing a fine sheet over deep grooves does not make them disappear. The required progression depends on the surface and coating system.
Use light that reveals the direction and depth of the scratch pattern, then compare with ordinary room lighting. Clean enough dust away to see the surface rather than judging through powder. Stop when the specified preparation and appearance have been reached. Sanding to a furniture-polish level can be unnecessary or inconsistent with the coating's adhesion requirements. More steps are not automatically better when they no longer serve the intended finish.
Treat dust collection and final cleanup as separate checks
Use extraction and containment appropriate to the material, task and applicable requirements. A dust-collecting tool can reduce what escapes, but its presence does not prove that the area or surface is clean. Inspect corners, trim ledges and nearby items that can return settled dust to wet paint later.
Clean the prepared surface with a method compatible with the next coating and let it reach the specified condition. Avoid introducing oily residues from an unsuitable wiping product. Check abrasive sheets and tool pads too; clogged or damaged abrasives can make new marks while appearing to polish the surface. Keep final-coat tools away from the sanding area. Separation of dusty work and finishing work is part of obtaining a clean result, not just housekeeping after the job.
Verify the result with the actual primer and finish
Complete a representative prepared area using the intended coating sequence. Let it reach the appropriate evaluation stage and examine scratches, repair edges and sheen differences. A surface that feels smooth by hand can still show directional marks under the room's permanent side lighting.
If the sample exposes a preparation defect, identify which layer needs correction before applying another overall coat. Record the successful abrasive, tool and method so the rest of the project can be prepared consistently. For a hired project, agree whether the scope includes flattening existing texture or only preparing sound paint for a new finish. Those are different services. A clear sample and scope prevent grit selection from becoming a substitute for an agreed appearance standard.
Questions & answers
Is 80 grit too coarse for repainting a wall?
It may be unnecessarily aggressive for simply preparing sound paint, particularly with a powered tool. It can leave scratches or damage the underlying wall. Determine the actual task and coating instructions, then test an appropriate abrasive. Do not use a coarse number merely because the existing finish has a higher sheen.
Should I sand every coat of wall paint?
Not as a universal rule. Between-coat sanding depends on the product, condition and intended finish. If correction is needed, allow the coating to reach its specified sanding stage and use the approved method. Sanding a soft film can create damage rather than improve the next coat.
Can paint hide the scratches left by sanding?
Some minor preparation marks may be concealed by the specified system, but deep or directional scratches can remain visible. Test the actual primer and finish on a representative area. Correct preparation defects at the appropriate layer instead of relying on extra paint to level an uneven substrate.
Sources & further reading
- EPA lead-safe renovations for DIYersAssessment and appropriate precautions before disturbing older paint.
- Benjamin Moore ADVANCE Satin 792 technical dataA specific cabinetry sanding example, distinct from universal wall preparation.
- Sherwin-Williams brush and roller marks guidanceCorrection and application must match the coating and substrate.
Reader discussions
These conversations describe problems people encountered. They do not establish the cause of a defect or replace product instructions and applicable requirements.