Cleaning Kitchen Grease Before Painting Walls and Trim
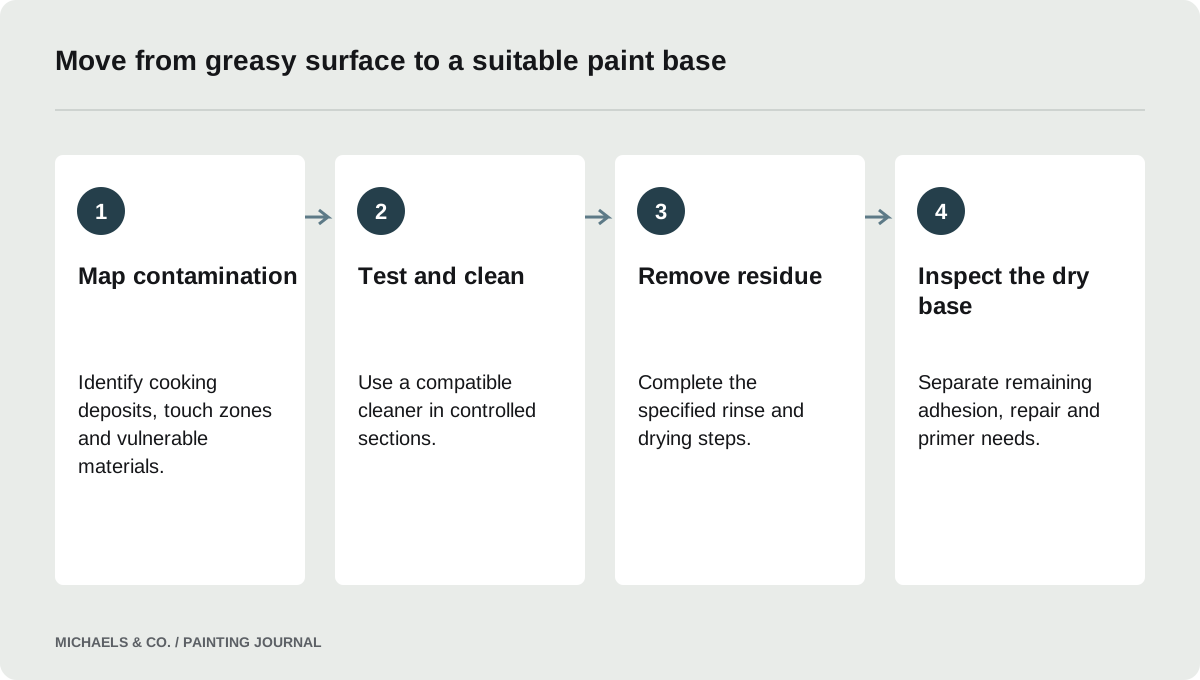
Remove kitchen grease before abrasive preparation or priming. Use a cleaner suitable for the existing finish, test it in a small area, work in manageable sections and remove loosened residue according to the cleaner's instructions. Let the surface dry, then inspect it again before choosing primer. A strong bonding primer cannot substitute for removing grease, wax or cleaner residue that would remain between the coating and wall.
Map the grease instead of treating every wall alike
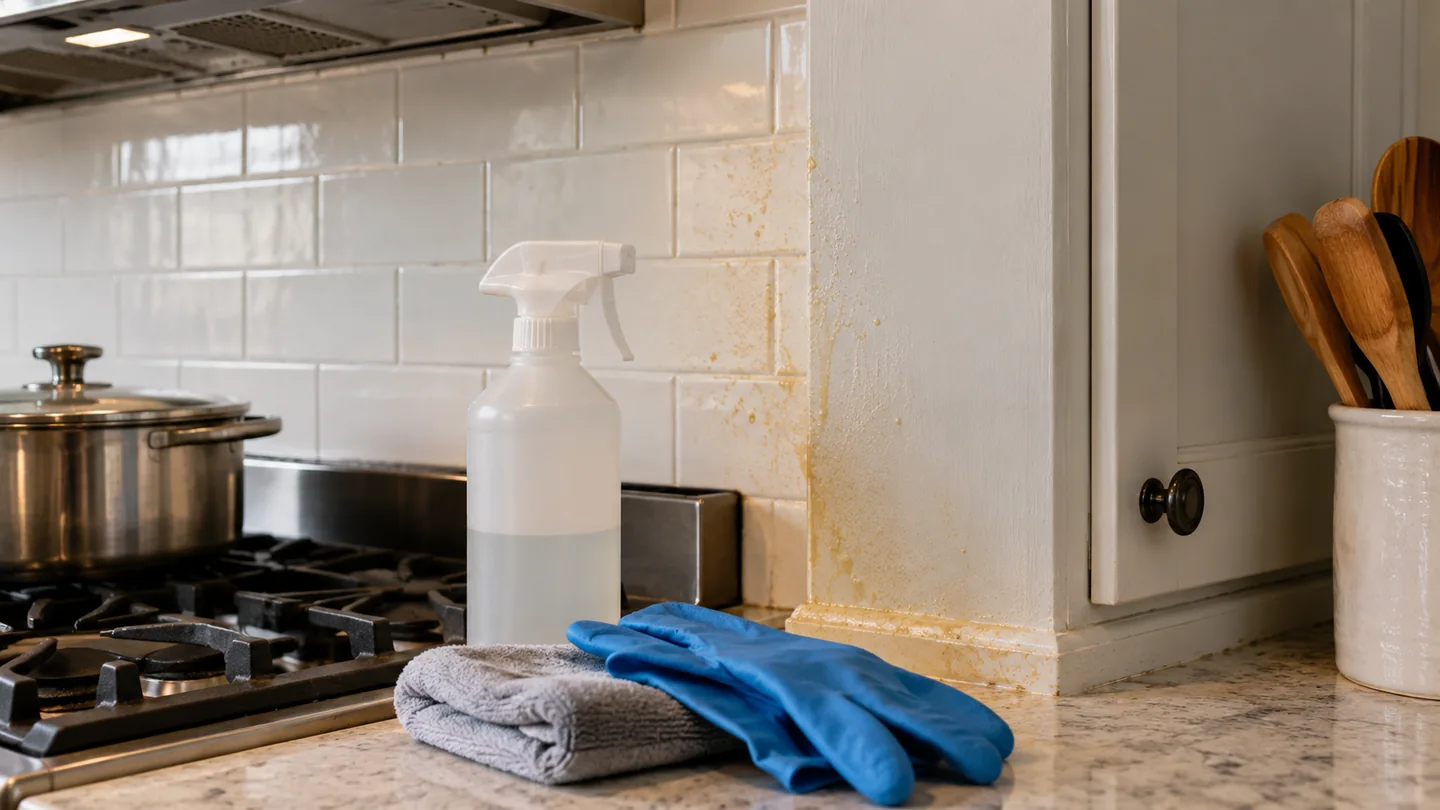
Kitchen contamination is uneven. Areas above a cooking surface, beside handles and near frequently touched trim may carry heavier deposits than the opposite wall. Dust can stick to those deposits and make them look like ordinary discoloration. Inspect edges, upper surfaces and recesses, not only the broad wall at eye level.
A Reddit question about washing years of grease from apartment walls asks the practical questions that matter: which cleaner to use and whether rinsing is necessary. The answer begins with the existing finish and the type of residue. A washable painted wall, porous repair and unfinished wood edge may respond differently to the same cleaning liquid. Divide the room into conditions before selecting a method. This avoids saturating vulnerable areas unnecessarily while leaving the dirtiest sections under-cleaned. Photograph the starting condition if a contractor and owner need to agree on the preparation scope.
Choose a compatible cleaner and test the finish
Use a cleaning product intended for the contamination and compatible with the existing substrate and finish. Follow its dilution, contact-time, ventilation and protective-equipment directions. Stronger is not automatically better: an unsuitable cleaner can soften or discolor a coating, leave residue or damage adjacent materials. Do not mix cleaning products or build a homemade combination from unrelated forum suggestions.
Test a small inconspicuous area, including the proposed rinse or residue-removal step. Check whether the old coating remains sound after drying. BEHR's substrate-preparation guidance emphasizes cleaning before the later adhesion steps. The useful outcome is a surface ready for the specified coating system, not merely a visibly lighter wall. If the test damages the finish, reassess the cleaner or preparation plan before expanding. Protect nearby metal, stone, flooring and electrical components from splashes as appropriate; their compatibility may differ from the wall paint being cleaned.
Clean before sanding so contamination is removed
Sanding a greasy surface can spread residue through the abrasive and across adjacent areas. It may also make the surface look dull enough to paint while leaving a contaminating layer in place. Remove the grease first, then assess whether deglossing or repair is needed. These are separate tasks with different acceptance criteria.
Work in sections small enough to control the cleaner and collect the loosened material. Use clean cloth surfaces or appropriate pads rather than repeatedly moving the same dirty face across the wall. Pay particular attention to molding profiles, handle zones and the underside of projecting trim. Replace or refresh the working solution as directed so the later sections are not simply wiped with contaminated liquid. Keep the floor protected and manage drips. A methodical progression through the room is more reliable than an energetic first scrub followed by a quick wipe over the areas that are harder to reach.
Remove cleaner residue and allow the base to dry
Some cleaners require rinsing, while others have specific residue-removal instructions. Follow the selected product rather than assuming that all degreasers are rinse-free or that one damp pass is enough. Residual cleaner can become another layer between primer and the old finish. Use a controlled amount of liquid, especially near joints, exposed MDF, damaged drywall paper and unfinished wood.
Allow the surface to reach the coating system's permitted dry condition before assessing it. A wet wall can feel different and hide remaining contamination. Check for streaks, softened paint or residue concentrated along trim edges. If a clean cloth continues picking up greasy material from a representative test area, continue the appropriate cleaning process rather than switching immediately to primer. Do not treat a simple visual check as laboratory proof of cleanliness, but use several observations together: appearance, residue transfer, surface condition and the outcome of a properly prepared coating sample.
Inspect what cleaning reveals about the old coating
Once grease is removed, the existing paint may show loose areas, damage or a high sheen that was previously obscured. Those conditions need their own preparation. A sound glossy finish may require deglossing or a compatible bonding primer; a weak layer cannot be made structurally sound by covering it with a stronger one.
The Stix SXA-110 technical sheet requires clean, sound preparation even though the product is designed for difficult adhesion situations. That is a useful limit on the idea that bonding primer sticks to anything. Identify bare patches and repairs separately from the surrounding paint so the primer system addresses both. Before sanding old or unknown coatings, assess possible hazardous materials and the appropriate controls. Do not let the familiar setting of a kitchen turn abrasive preparation into an automatic first step. Cleaning has clarified the surface; it has not removed the need to understand what will be disturbed next.
Use a practical acceptance checklist before primer
Do not move directly from the last wet cloth to the primer tray. Pause for a dry inspection and document any remaining conditions that change the scope.
- The chosen cleaner was tested without damaging the retained finish.
- Heavy grease zones and detailed trim were cleaned deliberately.
- Loosened residue was removed rather than redistributed.
- Required rinsing or residue removal is complete.
- Vulnerable joints and bare materials have dried appropriately.
- Loose coating, glossy areas and porous repairs are identified.
- A compatible primer-and-finish sample is planned where uncertainty remains.
For a rental turnover or commercial kitchen-adjacent space, this checkpoint helps distinguish a basic repaint from a preparation job with substantial contamination. Describe the observed condition in the work scope rather than promising that a standard coat count will solve it. Cleaning time can be a major part of the project even when the painted area is modest.
Select the finish and maintenance method after preparation
Once the base is suitable, choose a coating appropriate for the wall or trim and the expected cleaning. A wall paint and a cabinet enamel may serve different surfaces in the same room. Do not select higher sheen solely to compensate for incomplete degreasing; the bond still depends on preparation.
Apply a representative system sample and allow the required drying before judging adhesion and appearance by the manufacturer's method. Keep the cleaner and coating information in the project record, especially if future touchups are likely. After painting, wait for the finish's permitted cleaning stage and use its recommended maintenance method. Repeated aggressive cleaning can alter appearance even when the original application was sound. A durable kitchen repaint begins with removing what should not remain under the coating and continues with cleaning practices the finished system is designed to tolerate.
Questions & answers
Can I paint over grease with stain-blocking primer?
Do not use primer as a substitute for cleaning grease. Stain blocking addresses specified staining mechanisms, while grease can interfere with adhesion between layers. Remove contamination, assess the sound surface and then choose any primer functions the remaining substrate actually needs.
Is dish soap enough to prepare kitchen walls?
It may be suitable for some light cleaning situations, but it is not a universal answer for heavy accumulated grease or every existing finish. Use a compatible cleaner, follow its residue-removal instructions and inspect a dry test area before deciding the preparation is complete.
Should I sand first to help the cleaner reach the grease?
Clean contamination first, then assess any required deglossing or repair. Abrasion can distribute greasy residue and obscure whether it was removed. If old paint will be disturbed afterward, assess the coating and appropriate hazard controls before choosing the sanding method.
Sources & further reading
- INSL-X Stix SXA-110 Technical Data SheetClean, sound surfaces and compatible topcoats remain required; degloss challenging glossy surfaces and test questionable substrates.
- BEHR PRO: Dealing with Difficult SubstratesSealing differences in drywall porosity, assessing existing coatings and selecting a suitable primer are separate tasks.
Reader discussions
These conversations describe problems people encountered. They do not establish the cause of a defect or replace product instructions and applicable requirements.